_______
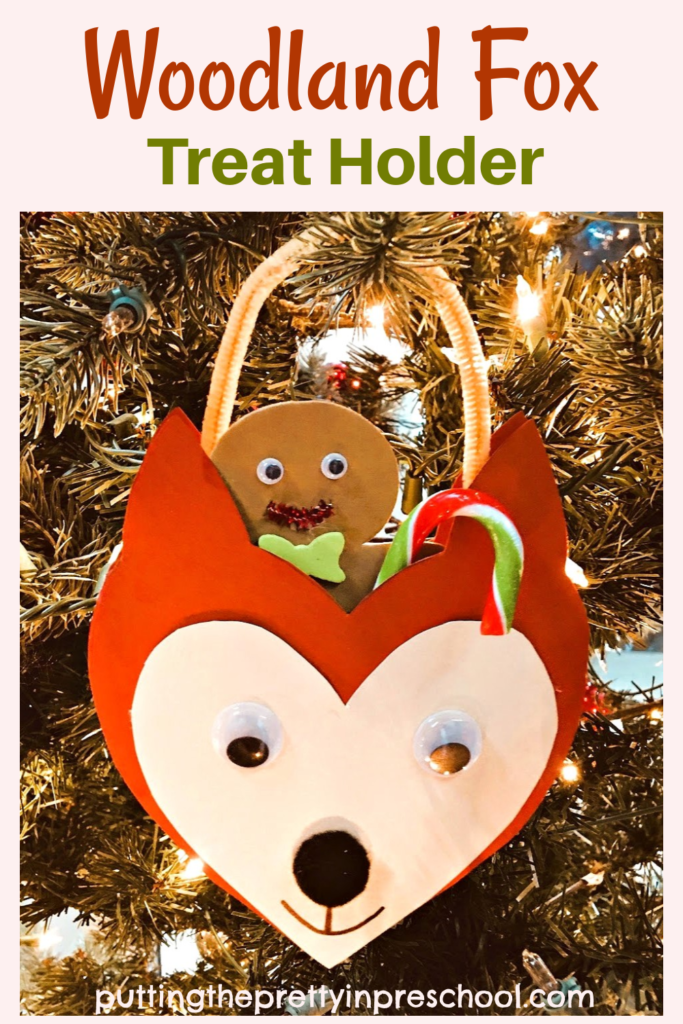
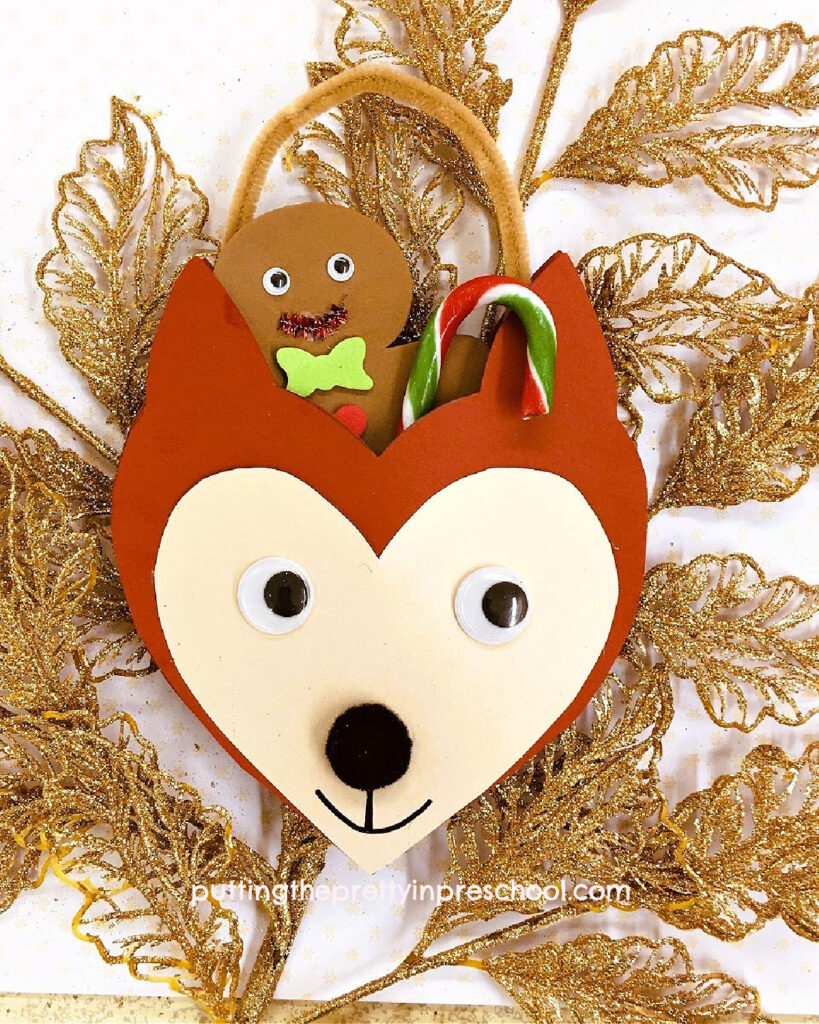
This woodland fox treat holder is inspired by gingerbread man stories, which I often read to my preschoolers in December.
The interaction between the fox and the gingerbread cookie is always a highlight of each story. One of the first years we read a series of gingerbread stories, we happened to start by reading tales wherein the gingerbread cookie outsmarted the fox. When we finally read a version in which the spicy cookie did get eaten by a sly fox, one little preschooler couldn’t believe it. After a round of gingerbread man stories this year, a little learner asked “Do you think the gingerbread cookie will ever really get away?”
_______
At the end of our current gingerbread storybook theme, I thought it would be fun to craft a fox treat holder for each preschooler. And to have a little gingerbread cookie in it. Below are instructions to make the treat holder, and a template to download for the craft.
_______
Follow me on Pinterest for more early learning ideas.
_______
Woodland Fox Treat Holder Supplies
Gather the following supplies to make the whimsical fox treat holder:
- rust-colored cardstock paper
- cream-colored cardstock paper
- light brown pipe cleaner
- black pom pom
- wiggly eyes
- black felt pen
- glue stick
- glue gun
- crafted gingerbread person or a gingerbread cookie
- candy cane
_______
Making The Woodland Fox Treat Holder
_______
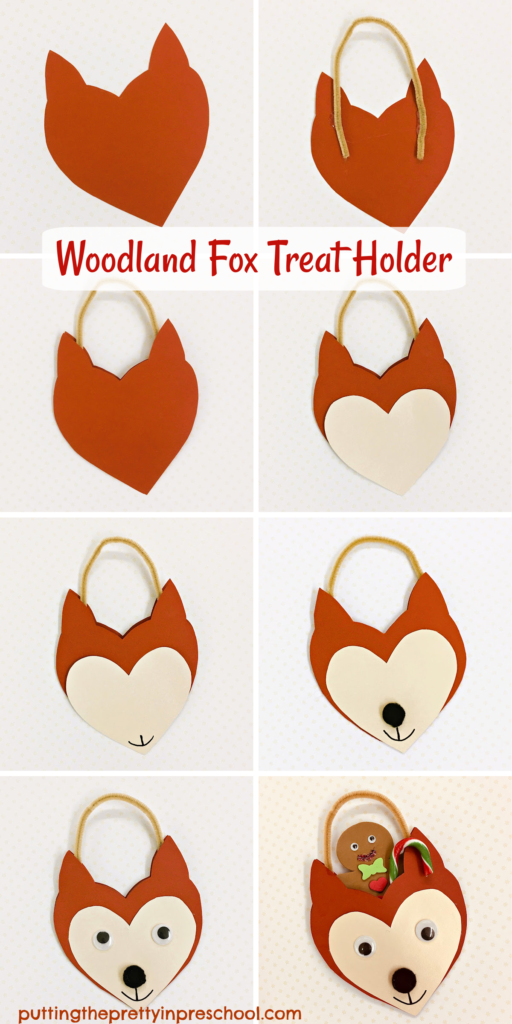
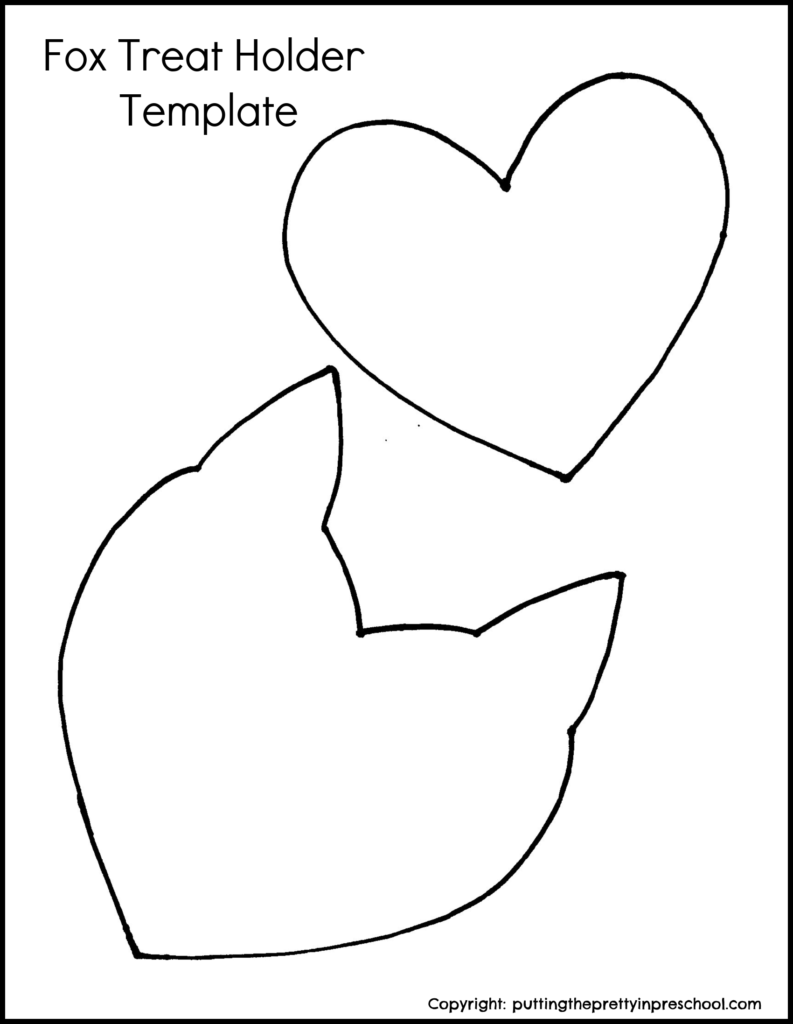
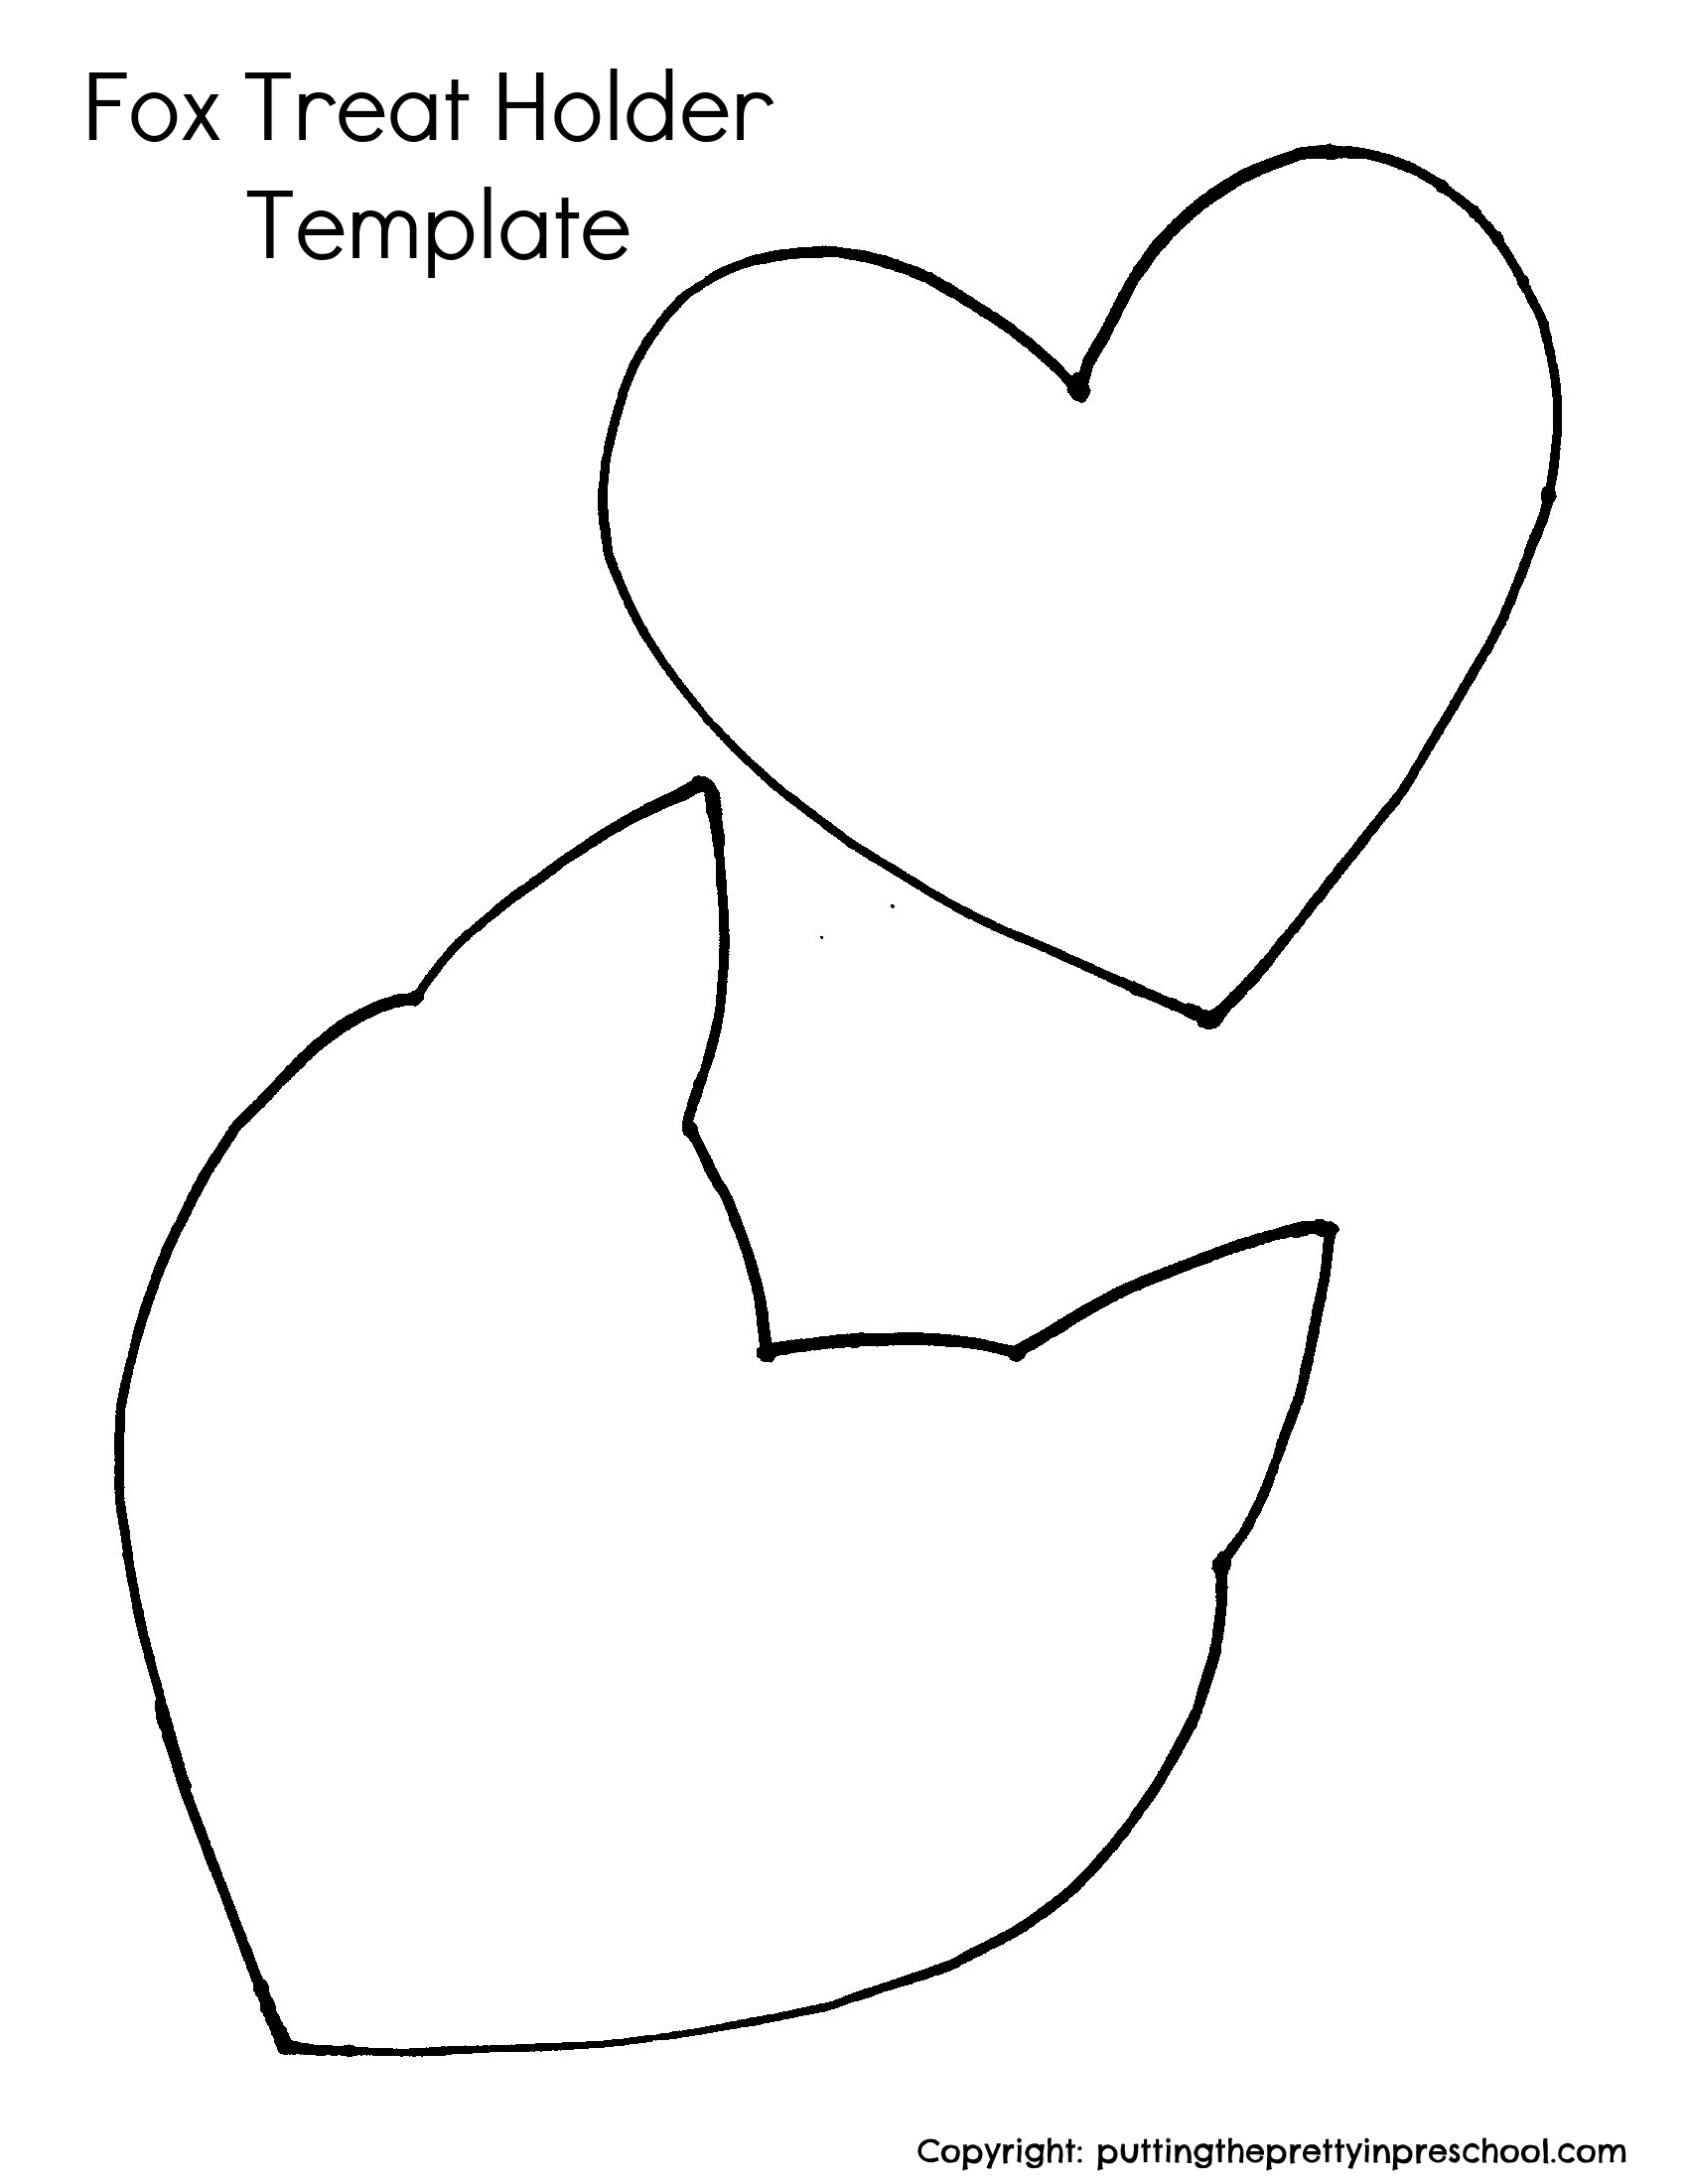
To make the woodland animal treat holder, start by cutting two fox faces from rust-colored cardstock paper. Feel free to download this fox template for the craft.
_______
This printable is for individual or one classroom use only.
_______
Then bend the cream-colored pipe cleaner into a half circle and use a glue gun to affix it to the ears of one fox head to create a handle.
Next, glue the edges of the fox together starting just below the ears.
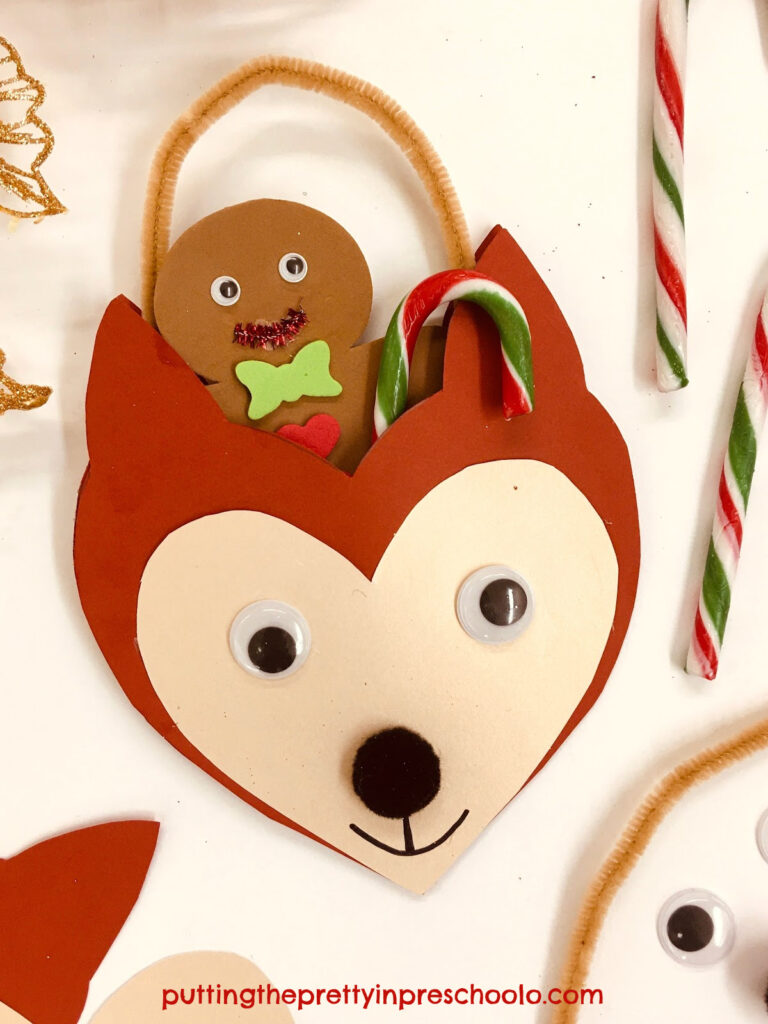
Afterward, cut a heart shape from the cream-colored cardstock and glue it to the second rust-colored fox head. Then draw a mouth with a black marker.
Finally, glue on a black pom pom nose just above the mouth, and add two wiggly eyes.
_______
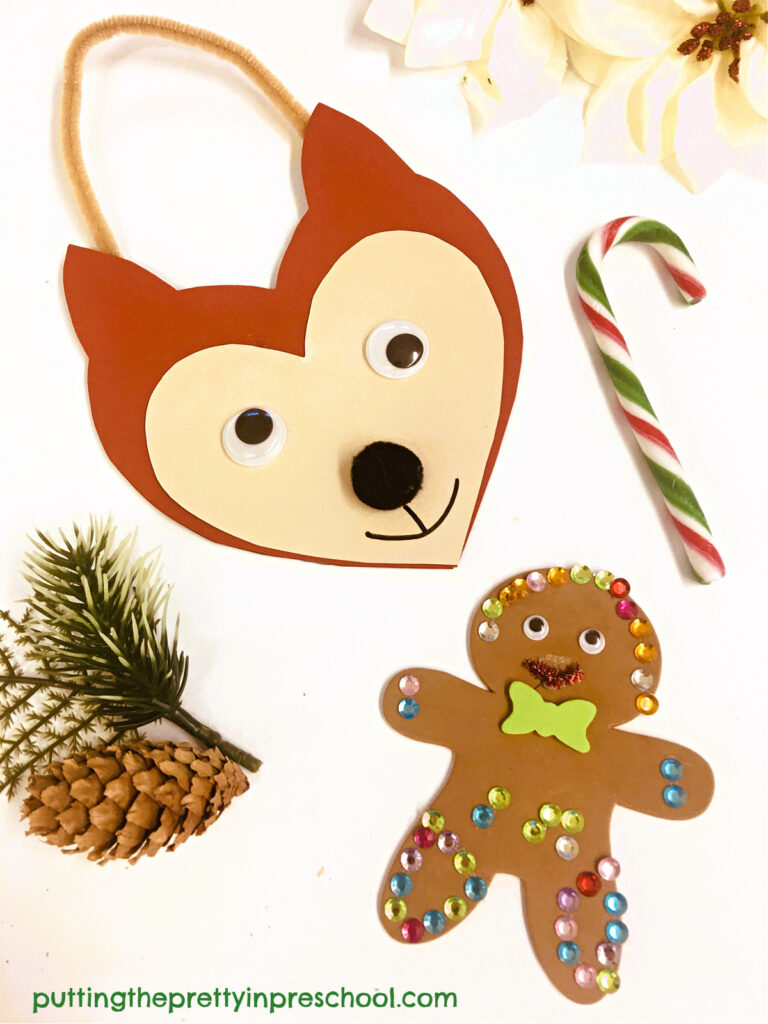
Gingerbread Person and Candy Cane Favors
When the woodland fox treat holder is finished, have your little learner craft a gingerbread person to put inside. Then add a candy cane. The treat holder holds a small crafted gingerbread person and a large candy cane nicely.
_______
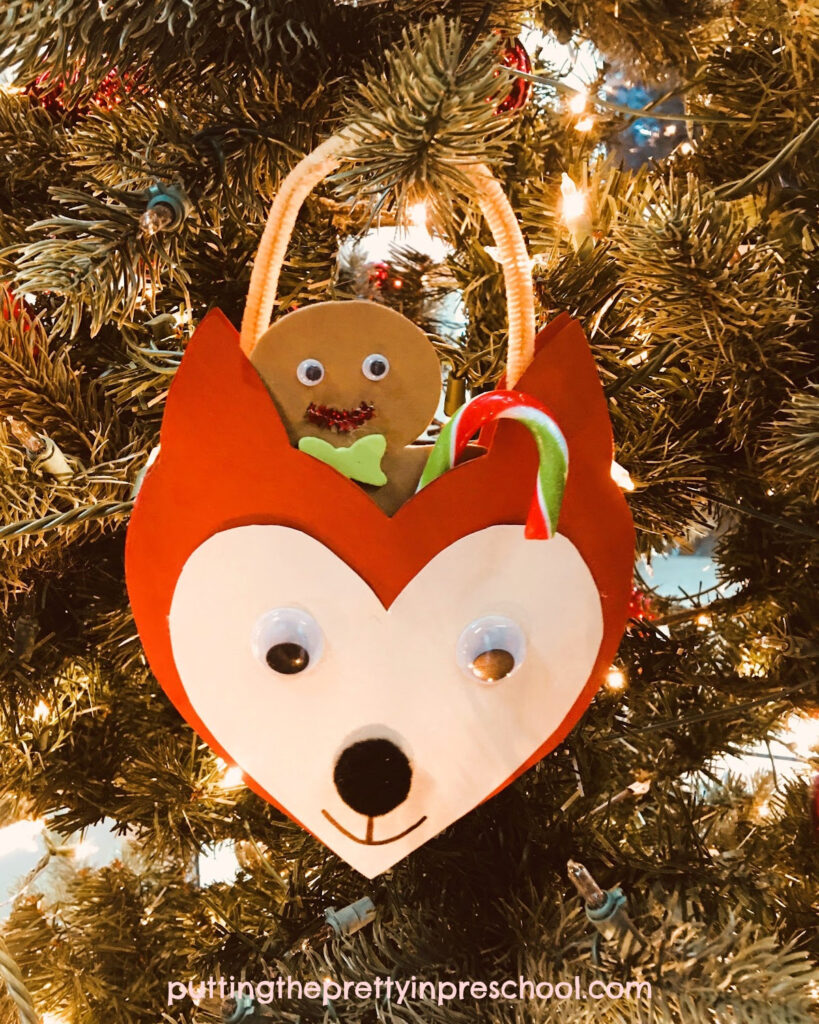
Or you could add an edible gingerbread cookie and candy cane to the treat holder.
This crafted duo also makes a cute decoration to add to a Christmas tree.
_______
More Gingerbread Man Activities
Melted Candy Gingerbread Ornaments
_______
[Read more…] about Woodland Fox Treat Holder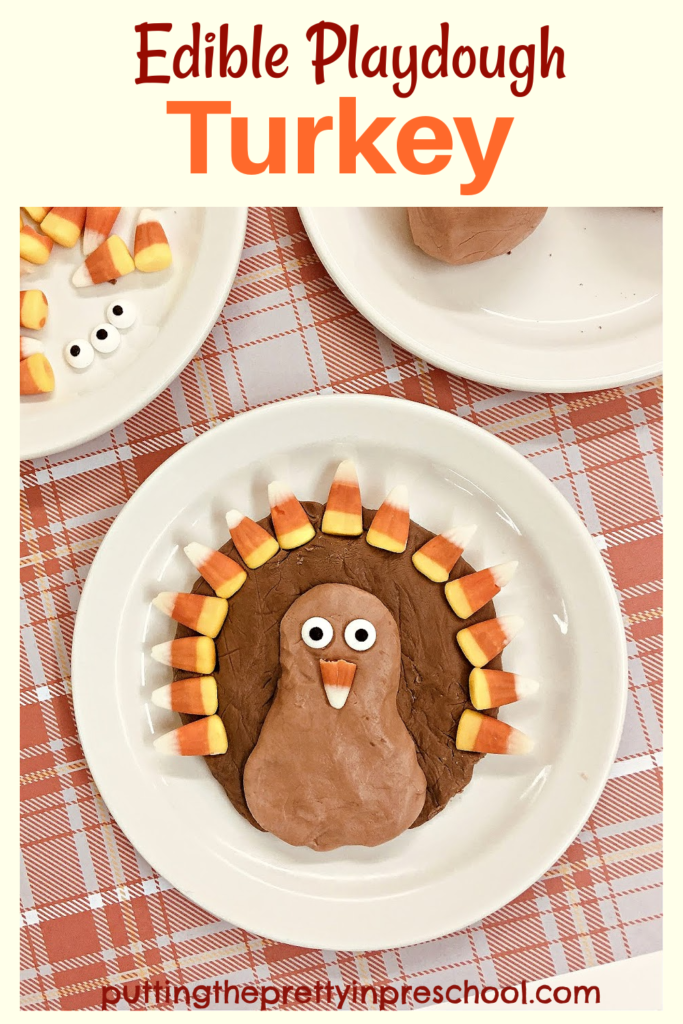

