
_______
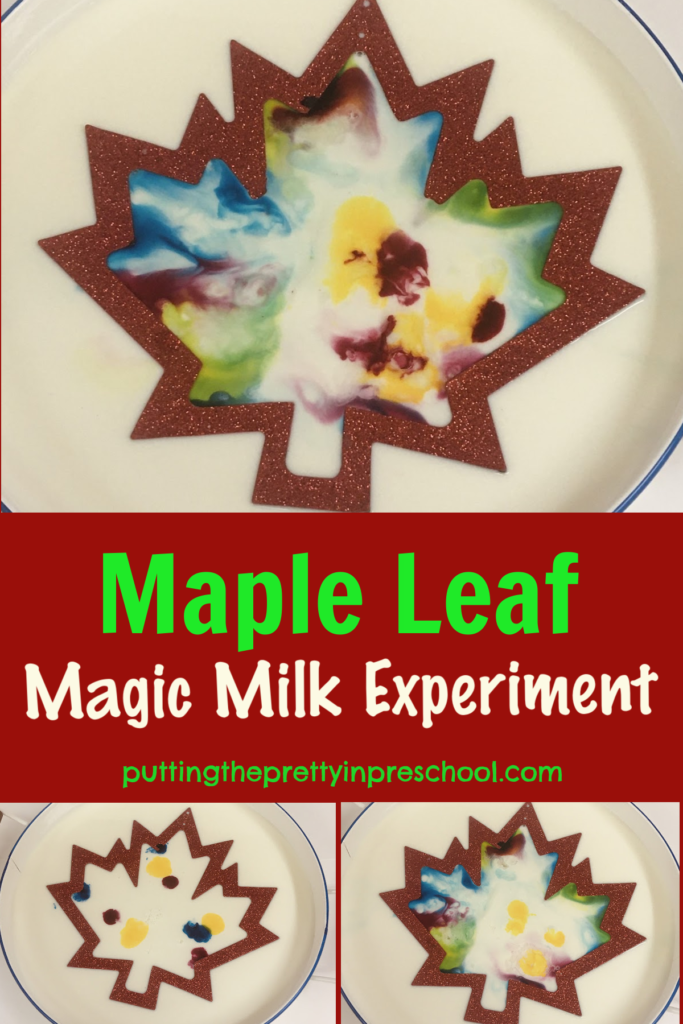
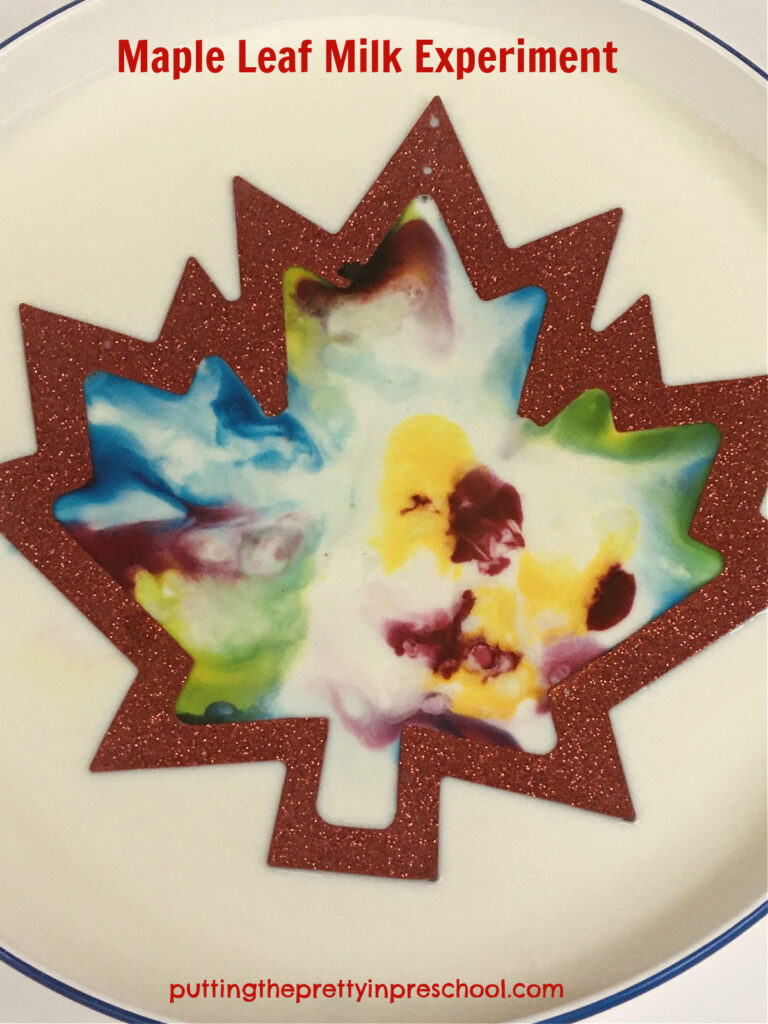
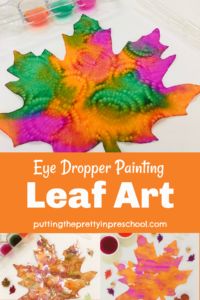
Have you ever done the color magic milk experiment? It is quick and easy to do, and participants are always in awe of the results. In this version, I add artistic flair by giving the experiment a leafy twist.
_______
Follow me on Pinterest for more early learning ideas.
_______
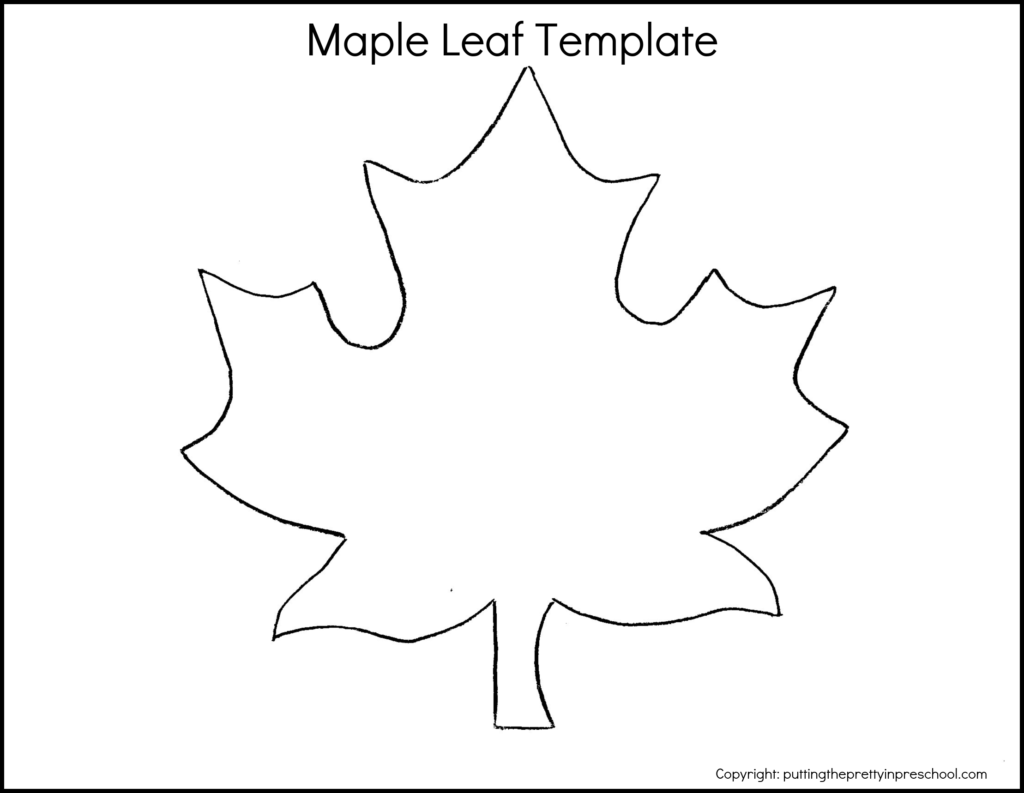
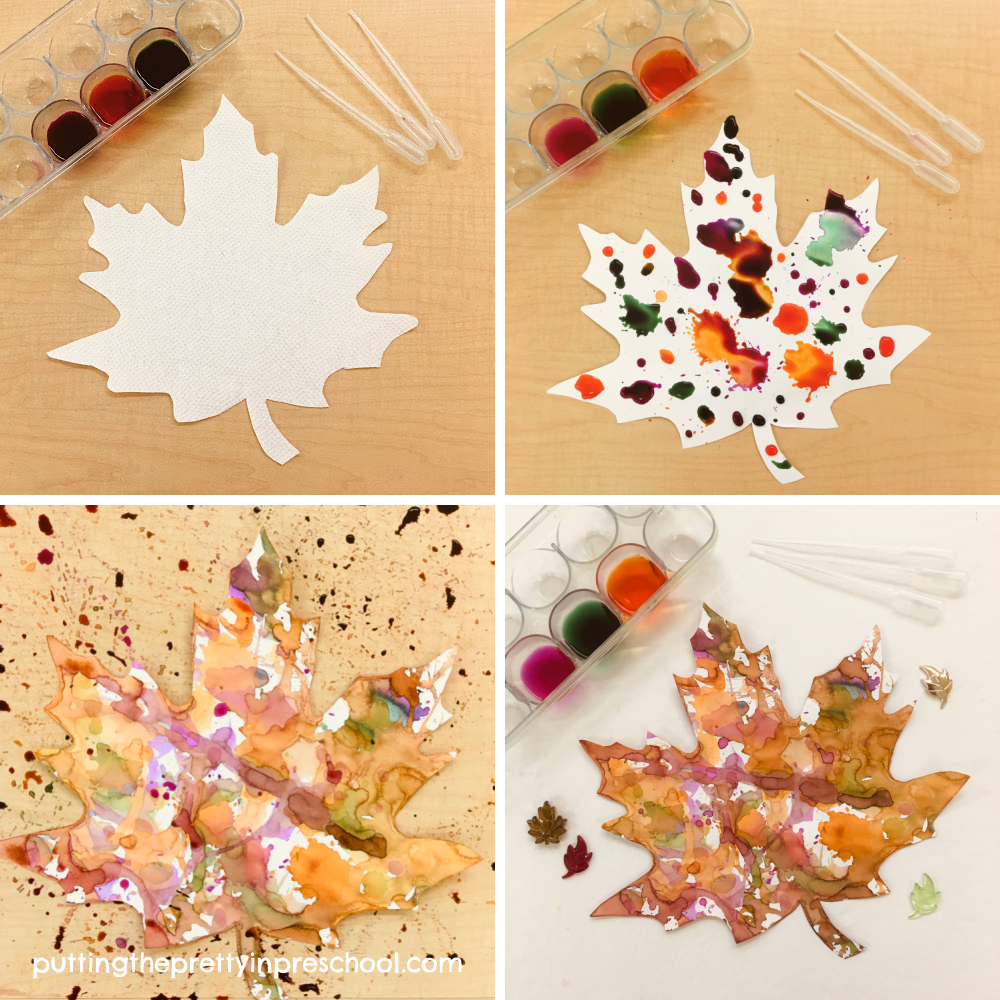
Supplies To Collect
Just a few supplies are needed for this simple but stunning kitchen science experiment. Gather the following:
- 2 liters milk
- red, yellow, and blue food coloring
- dish detergent
- large round serving tray
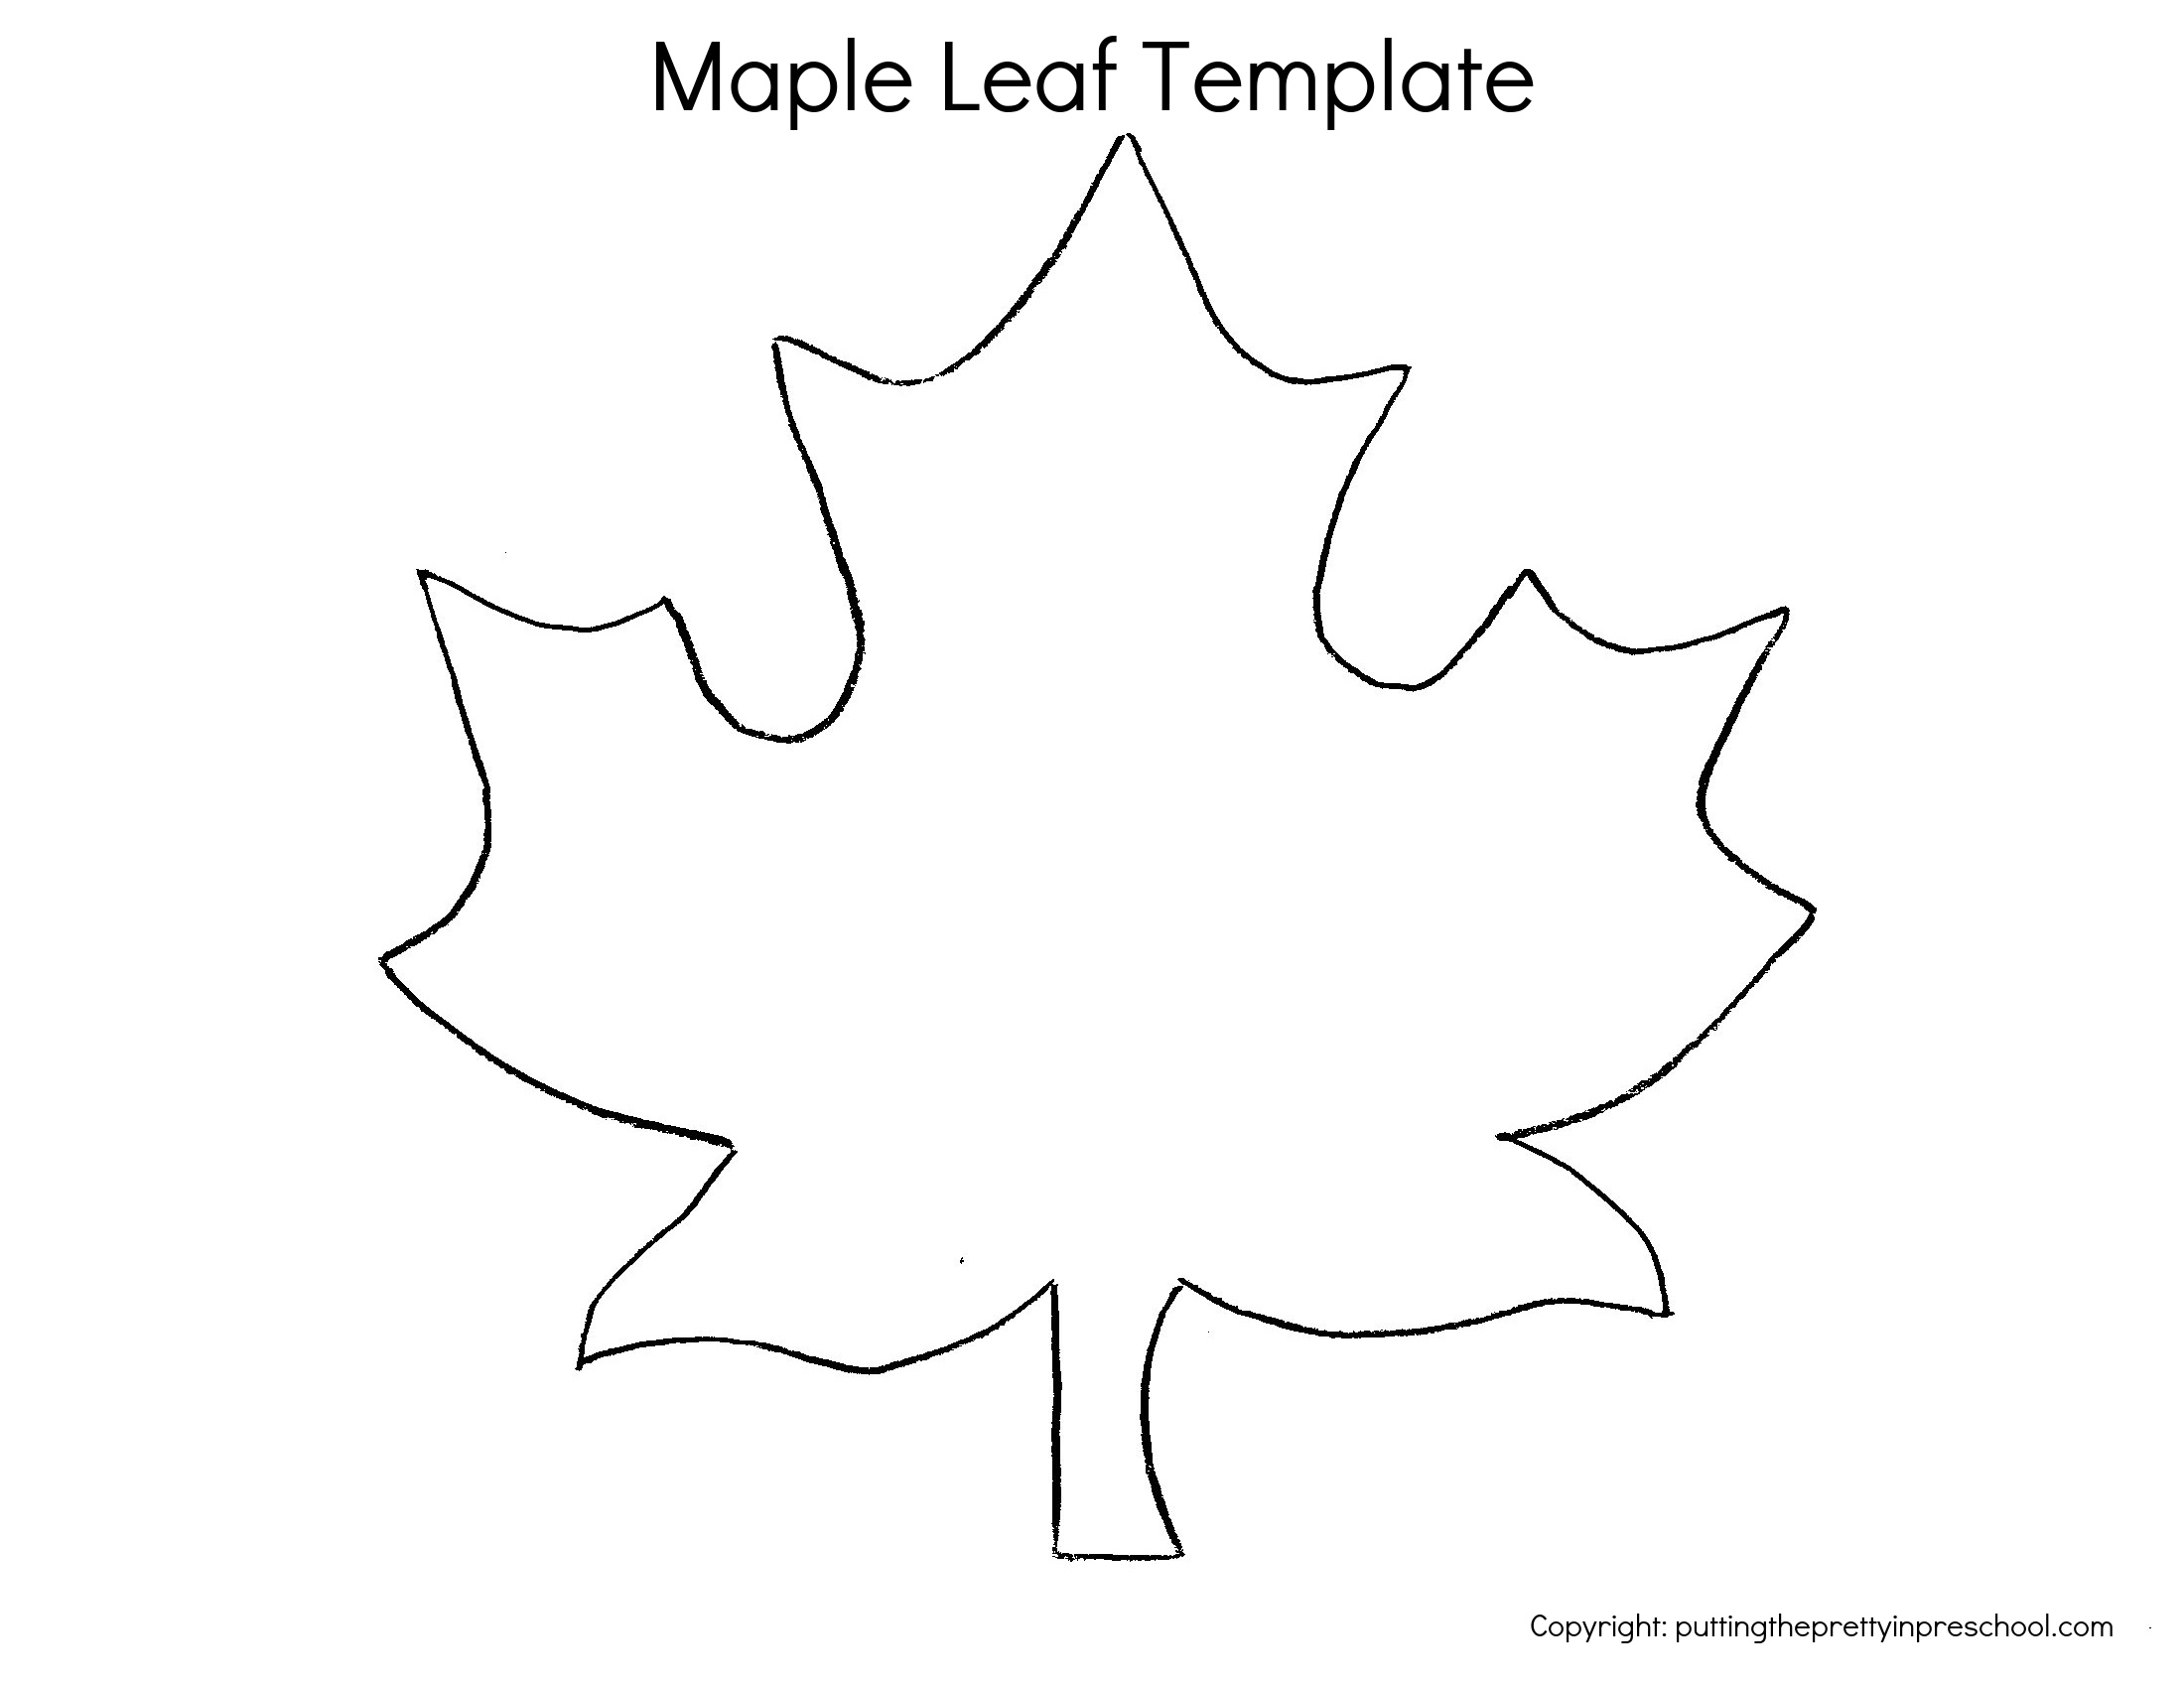
- maple leaf frame (optional)
_______
The Color Magic Milk Experiment
_______
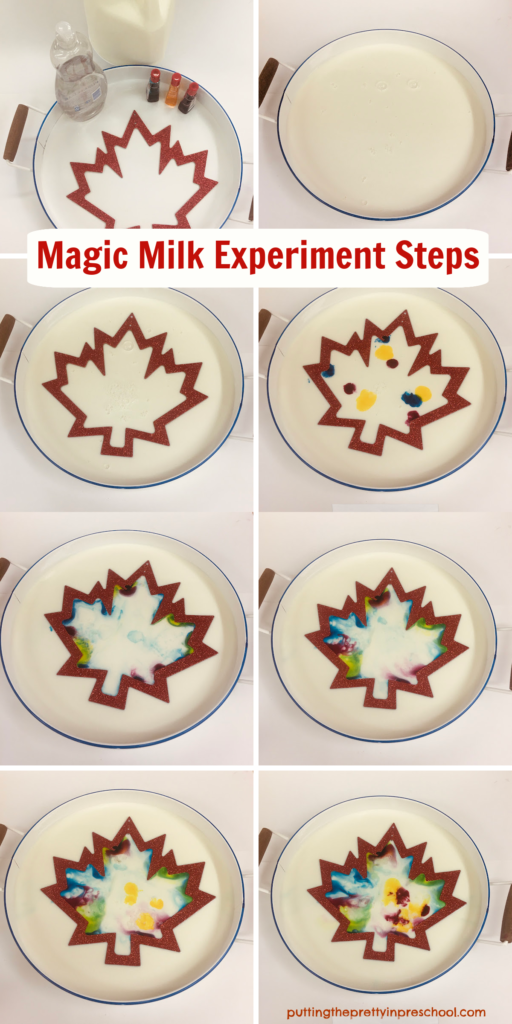
To do this experiment, start by pouring a layer of milk into a food tray. Using homo milk is recommended, but 1% and 2% will also work.
Note: Outdated milk is a great choice for this experiment.
Next, float a maple leaf frame on the milk. (My frame is a cardboard cutout purchased at a dollar store.)
Note: The leaf-themed frame adds interest to the experiment, but is not necessary for it to work.
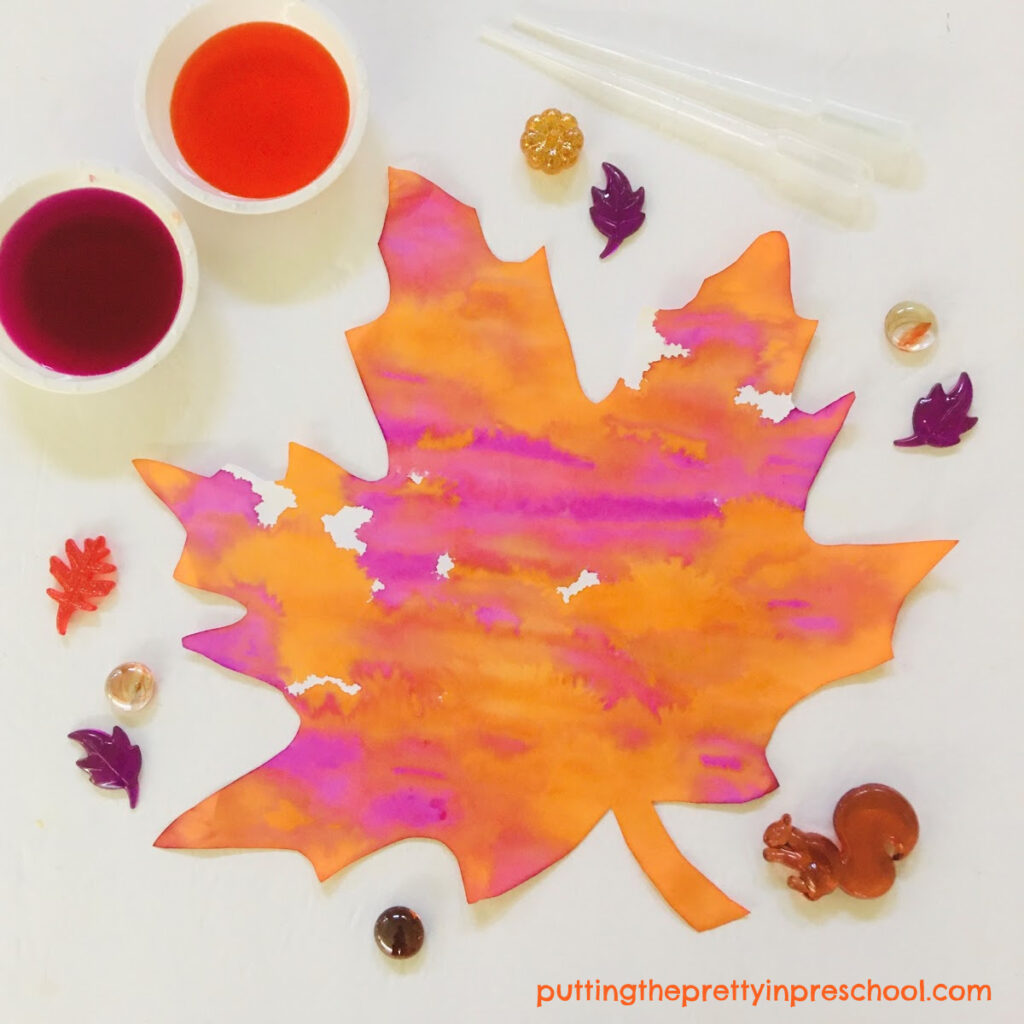
Then drip yellow, red, and blue food coloring inside the frame.
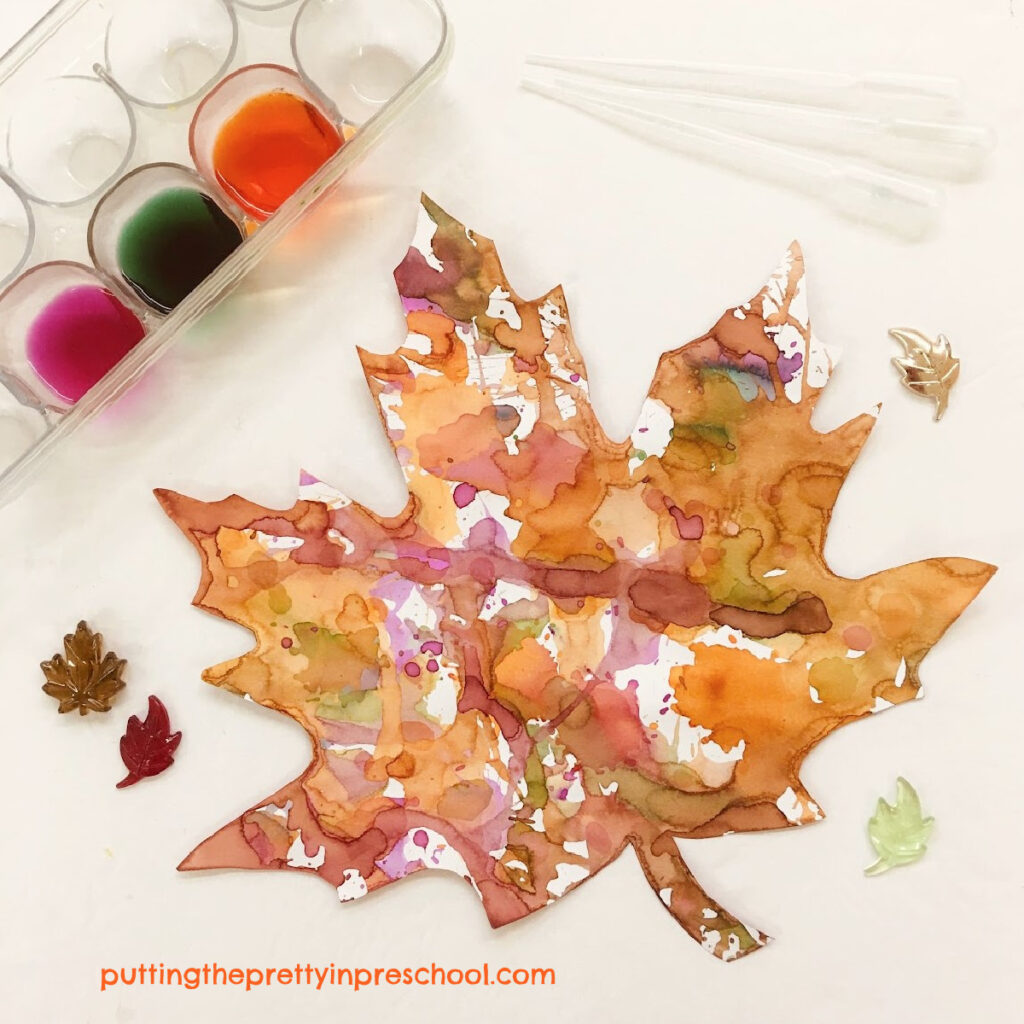
This next step is where the magic happens… Squirt a drop of dish detergent onto each pool of colors. Watch the colors instantly race to the edge of the frame, swirling around as they go.
After the initial color burst, check back after ten minutes and you will see a variety of hues slowly starting to fill in the maple leaf shape.

_______
At this point, you can add a little more food coloring and a tiny bit of dish detergent for more color play.
_______
View this maple leaf color magic science experiment as a video.
_______
The Science Behind This Color Experiment
Although milk is made of mostly water, it also contains fat and protein. These are both sensitive to changes in the milk. When dish soap is added to the tray, it breaks up the surface tension of the milk and is attracted to the fat molecules. The fat molecules try to scurry away but end up bonded with the soap molecules. The movement of the food coloring makes this process visible. As more and more soap and fat molecules bond, the color movement slows down and eventually stops.
Since the fat content in milk is super important in this experiment, homo milk works the best. But 2% and 1% milk (which I often have handy) also show stunning results.
_______

_______
Related: Color Explosion Science Experiment
_______
More Leaf Activities
_______
[Read more…] about Color Magic Milk Experiment


