_______
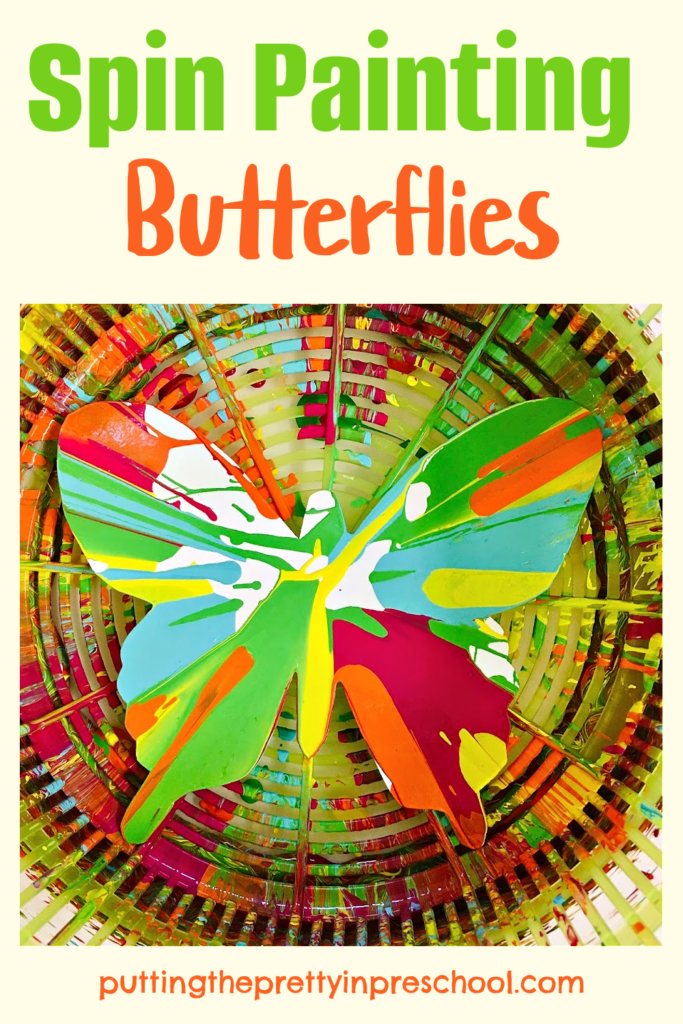
There are few art projects that are more exciting and fun than spin painting. And using a salad spinner is an easy and low mess way to create spin art. I’ve featured this painting technique in a few projects on my blog. In this post, I feature spin painting butterflies.
_______
Follow me on Pinterest for more early learning ideas.
_______
Supplies To Collect
Gather the following supplies for this art x science painting activity:
- salad spinner
- butterfly template
- cardstock paper
- pipe cleaners
- tempera paint
- paint pots
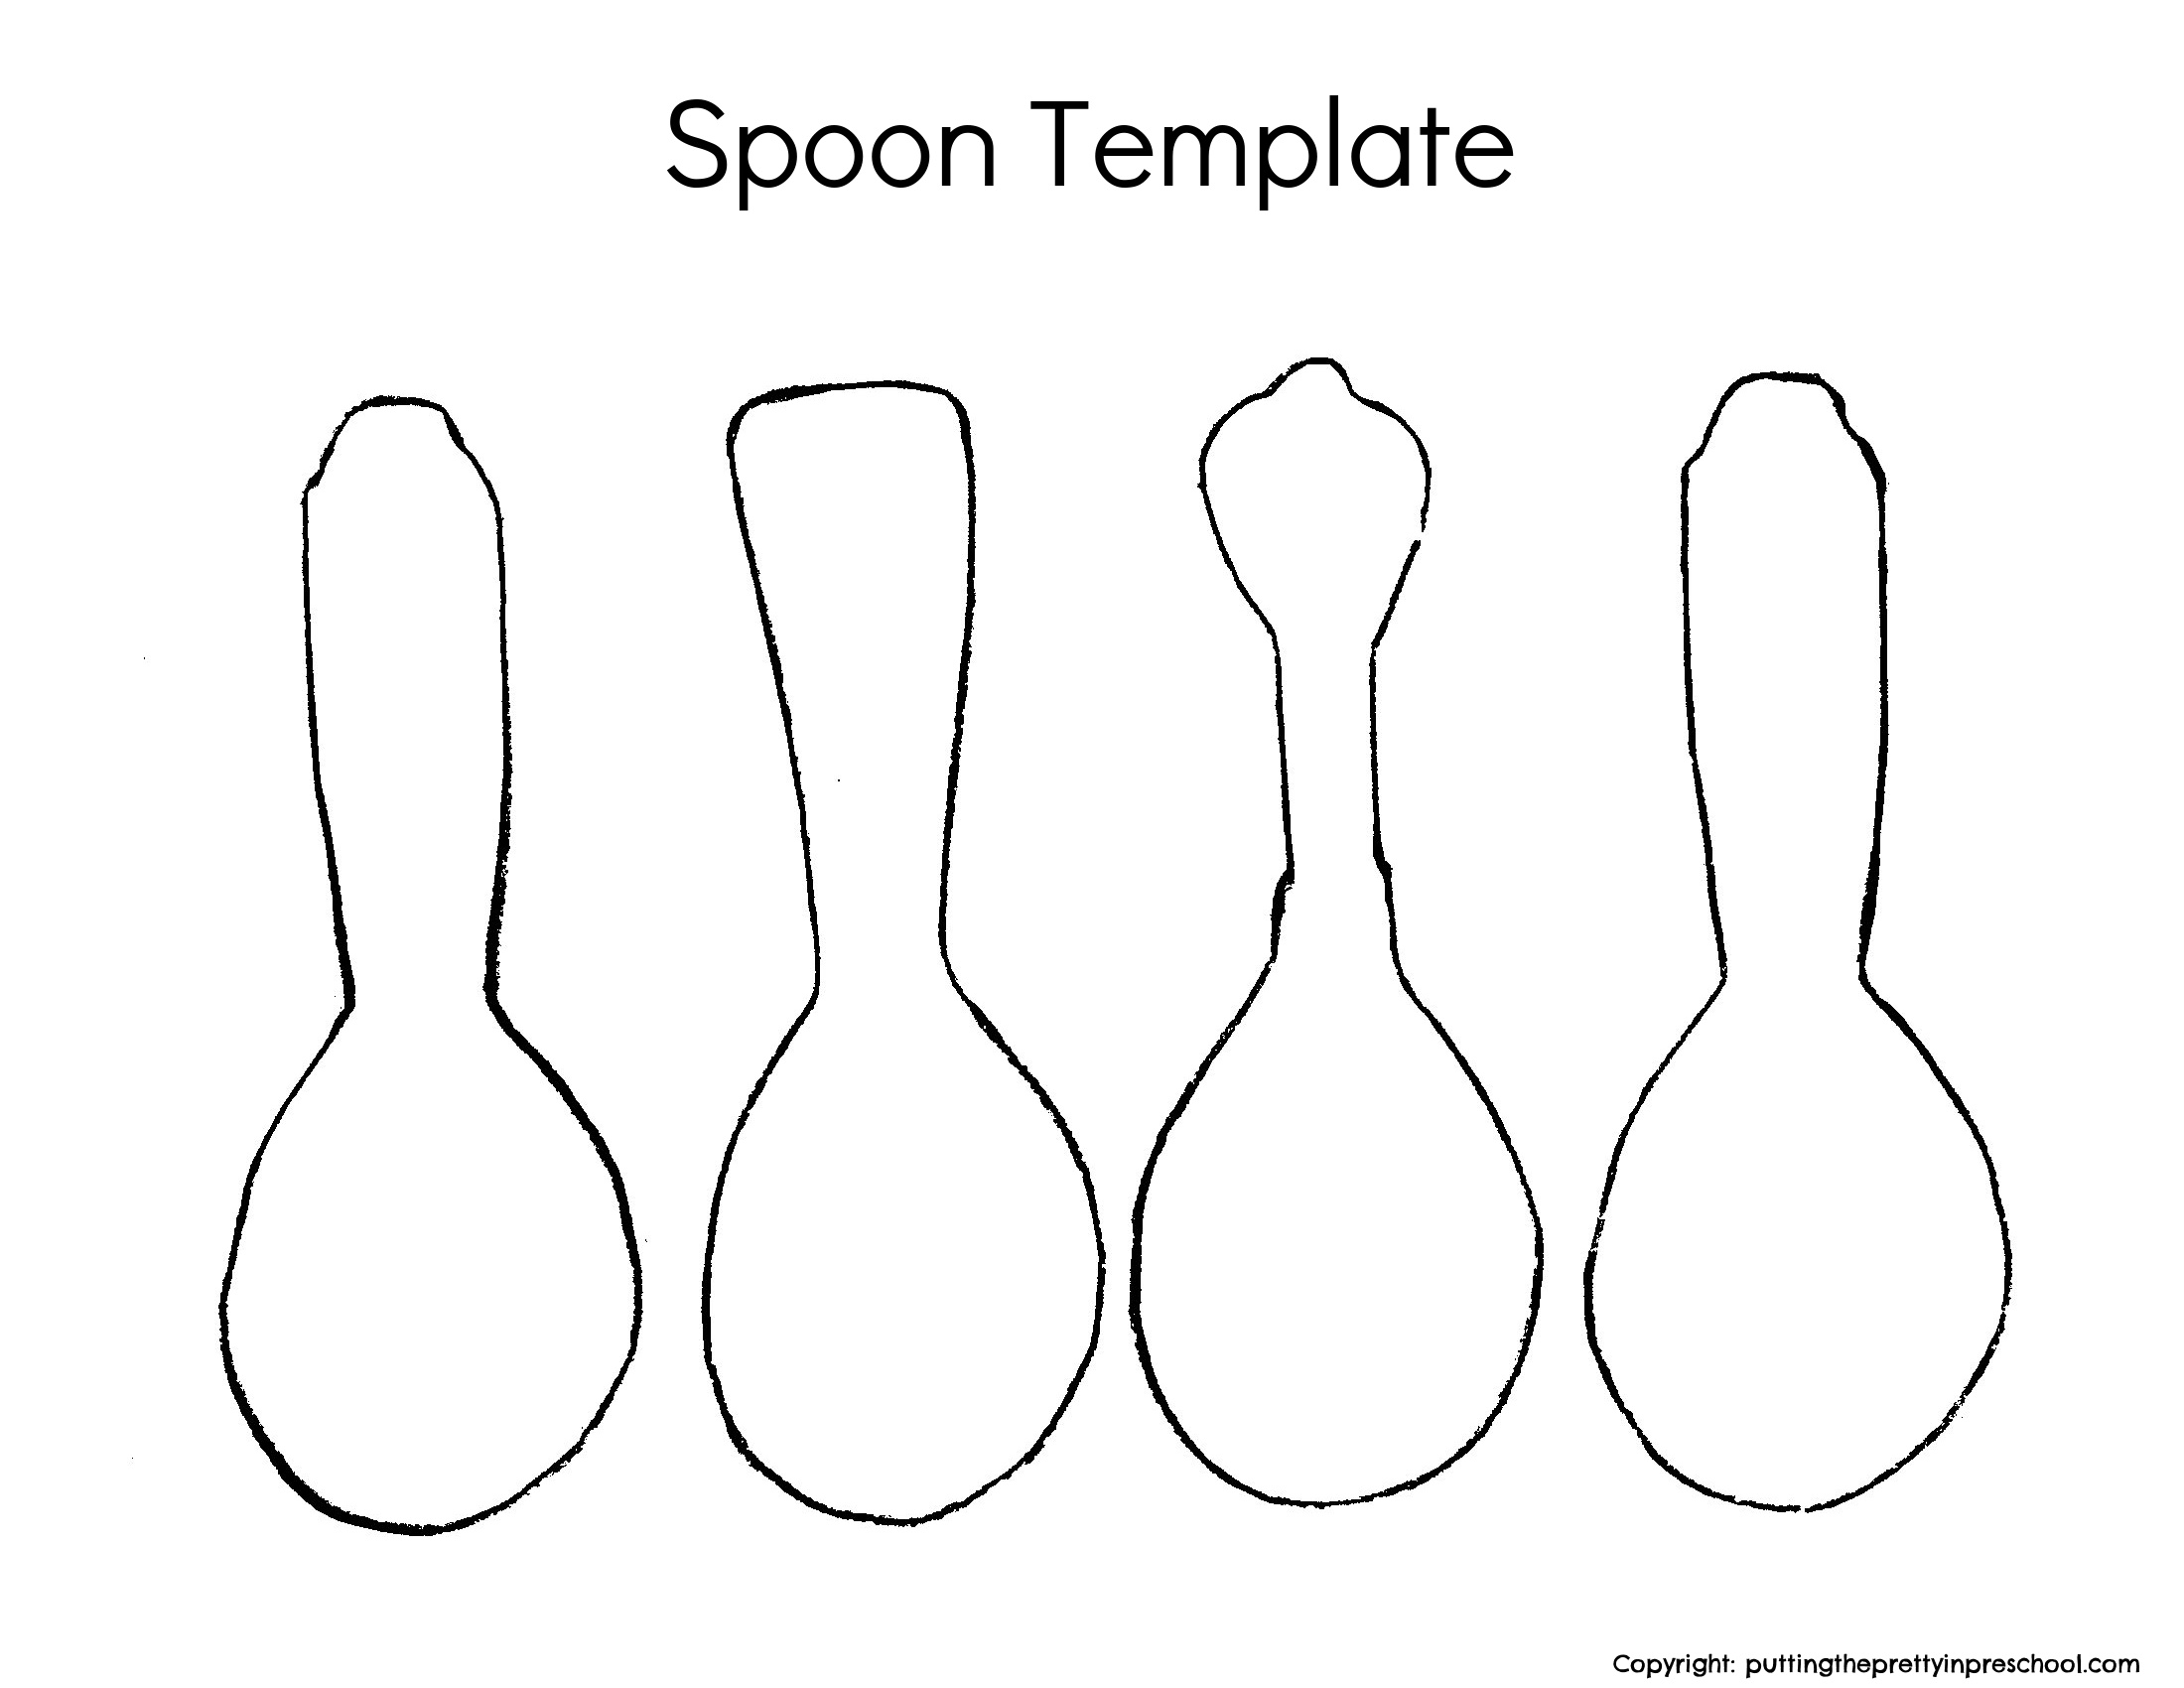
- spoons
- tape
- white glue or glue gun
_______
Creating Spin Painting Butterflies
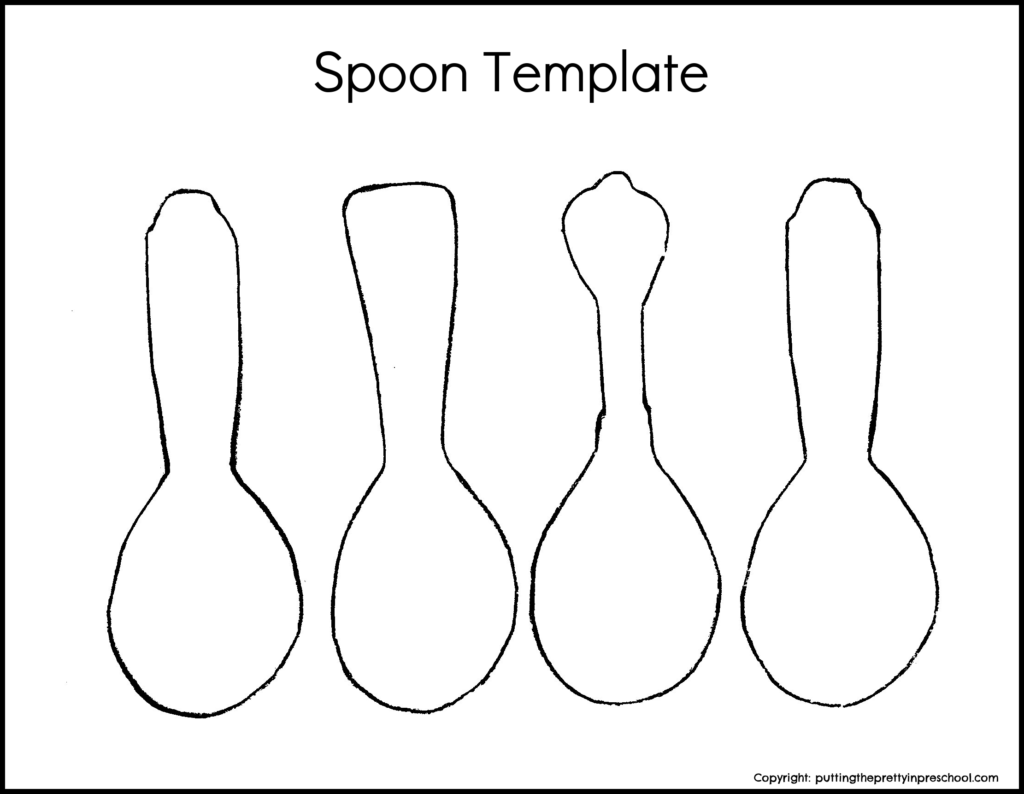
To create the spin art butterflies, design a butterfly template and trace it onto cardstock paper in the color of your choice. It is optimal for the butterflies to be the size of the bottom of the salad spinner. To help figure out the correct size, trace the bottom of the salad spinner basket onto a piece of paper. Lay the butterfly template on the circle and adjust its size if needed.
Then add a little piece of rolled-up tape to the bottom of one paper butterfly, and position it securely in the salad spinner basket.
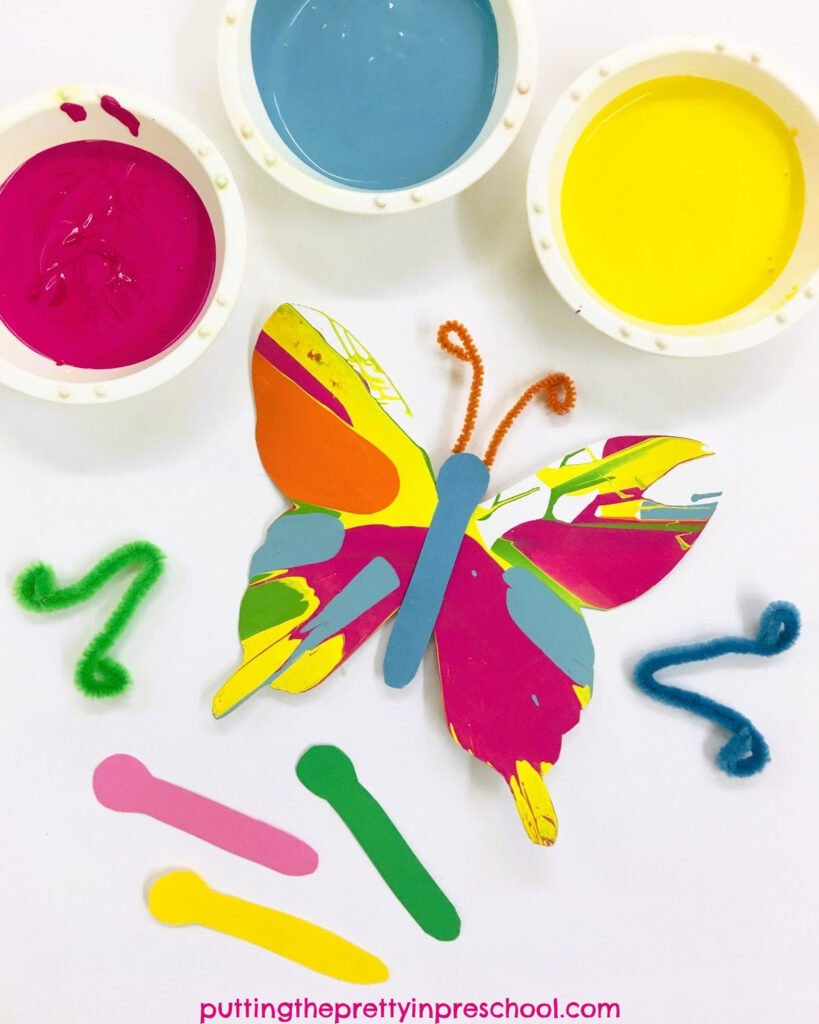
Next, pour tempera paint colors of choice into paint pots. Add a little white or yellow paint to brighten up the colors if desired.
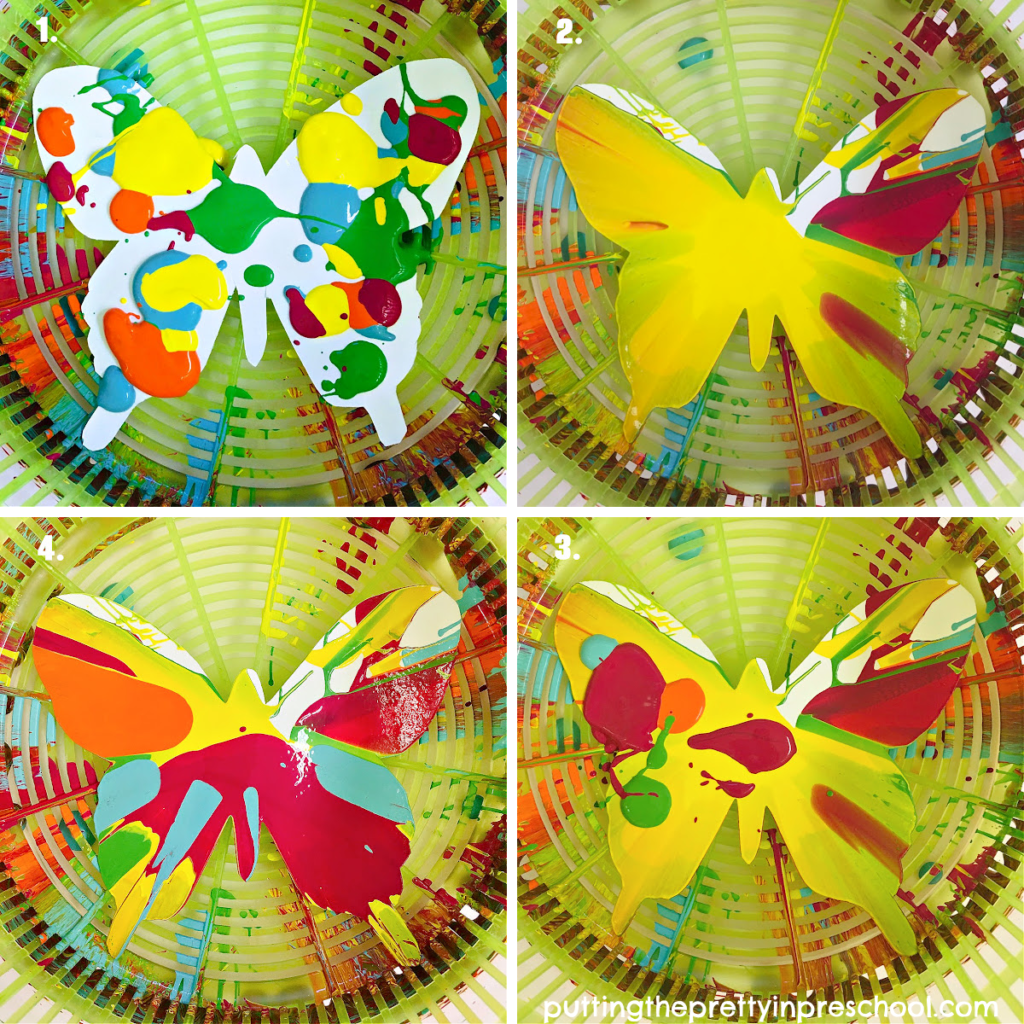
Afterward, spoon blobs of paint in a variety of colors onto the butterfly.
_______
Then spin the salad spinner at a moderate rate. It is ideal for the butterfly to remain on the bottom of the spinner. Spinning it super fast may loosen the butterfly resulting in it sticking to the side of the basket. This will smudge up the paint.
Next, open the spinner and carefully lift out the butterfly. Remove the tape and let it dry.
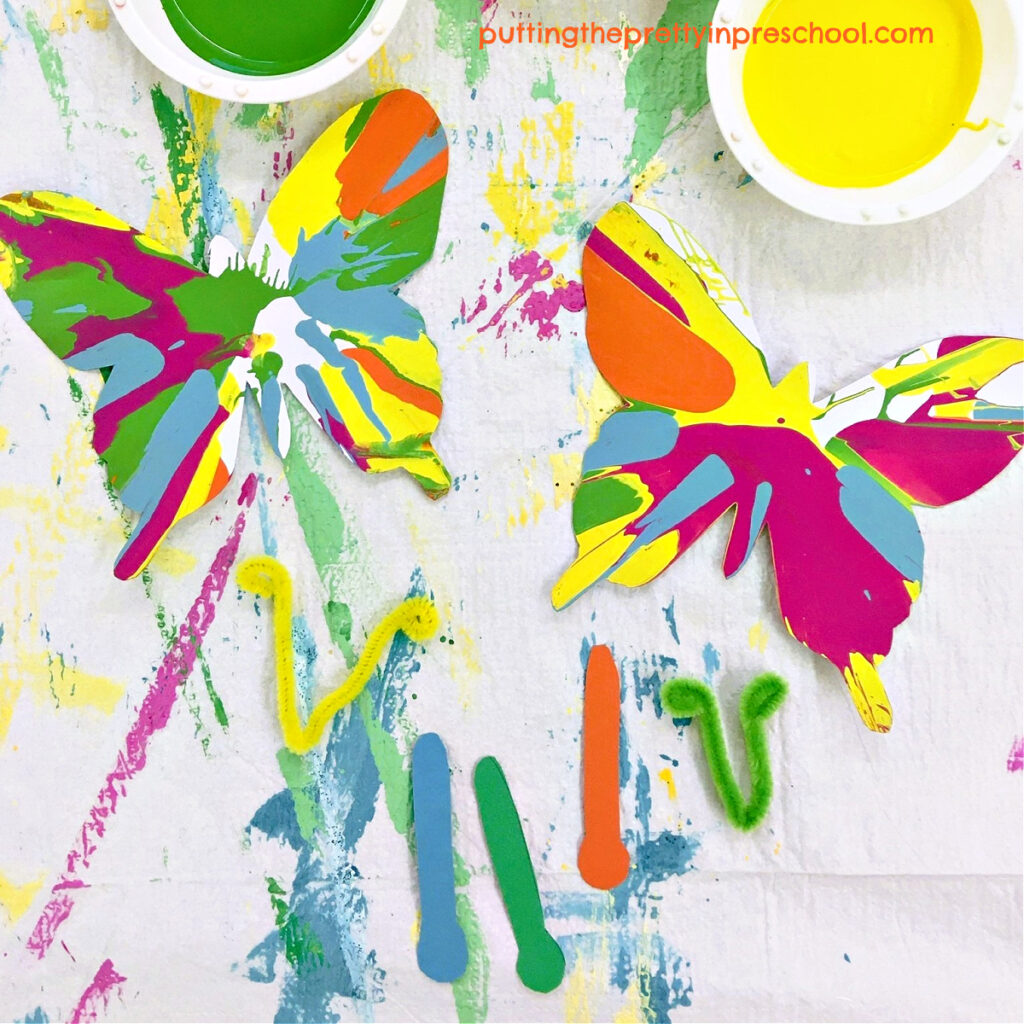
Finally, cut out a one-piece butterfly head, thorax, and abdomen from a complementary piece of sturdy paper, and bend a pipe cleaner length into antennae. Glue both to the center of the butterfly using white glue or a glue gun.
_______
Invite each person participating in this activity to create one or two spin art butterflies.
_______
Spin Painting Butterfly Variations
After spinning the salad spinner the first time, you can choose to drop in more paint and spin again.
_______
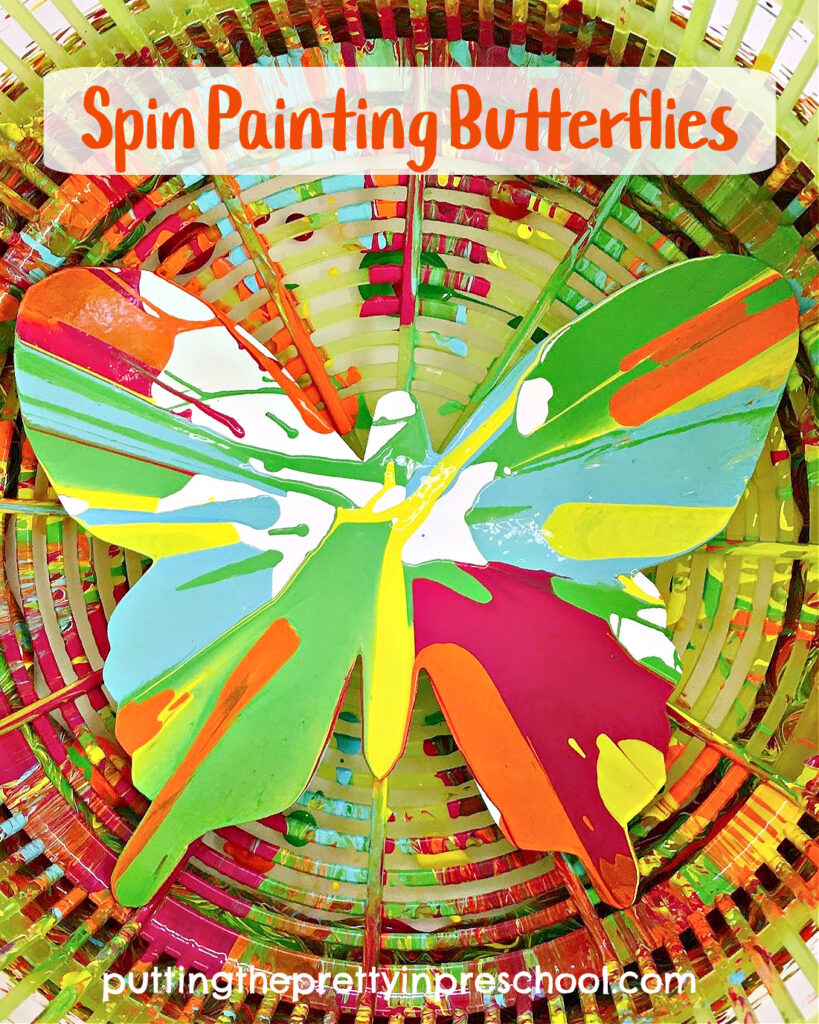
After the first spin cycle, the butterfly in the above picture turned out mostly yellow. With a little more paint added and another round or two of spinning, the butterfly is more colorful.
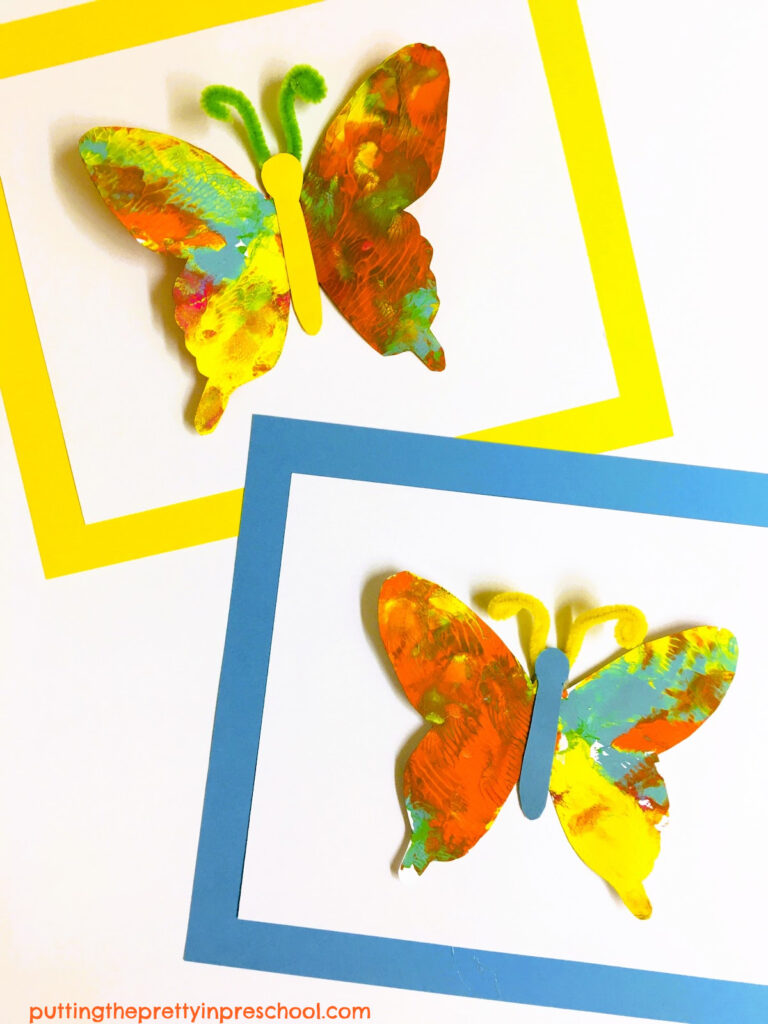
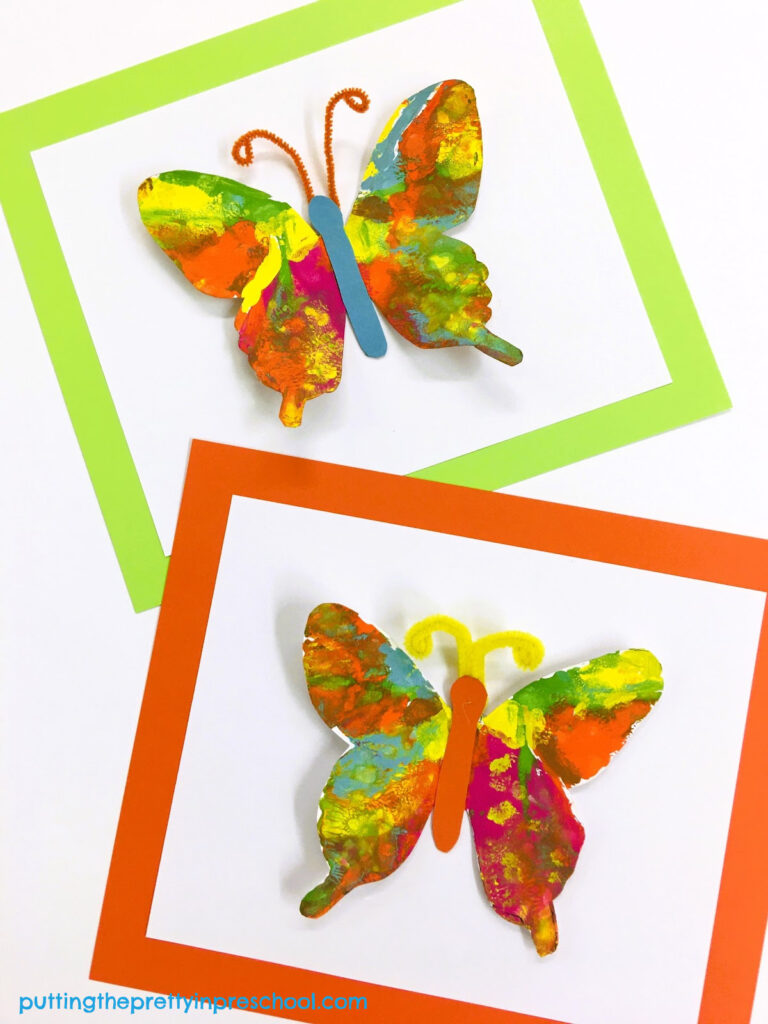
If the butterfly does stick to the side and the paint is smudged, make a print with it on a new piece of paper. Cut the butterfly out and use doubled sided tape to secure it onto a new piece of paper for a 3D effect. Add a cardstock frame for a finishing touch.
_______
_______
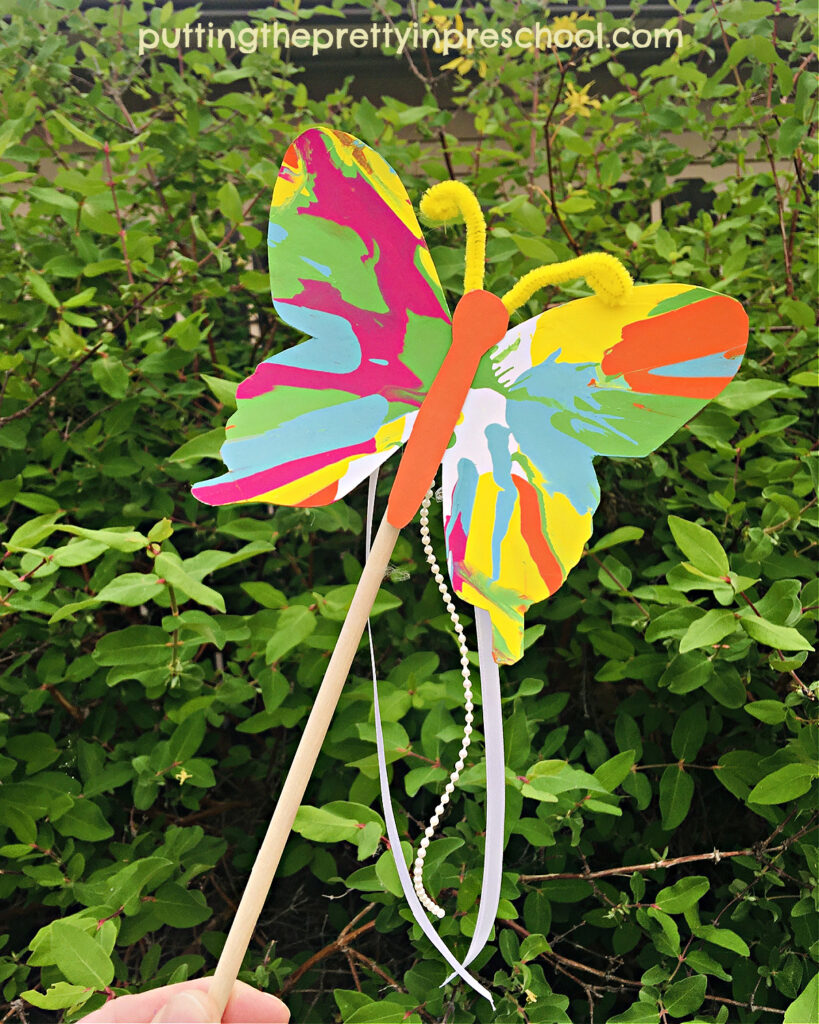
And gluing a painted butterfly, ribbon, and bead garland to a dowel makes an awesome butterfly wand.
_______
The Science Behind Salad Spinner Art
Centrifugal force is used in creating salad spinner art. When the salad spinner is spun around, centrifugal force pushes the paint away from the center to the edges of the butterfly.
_______
_______
Related:
_______
[Read more…] about Spin Painting Butterflies


