_______
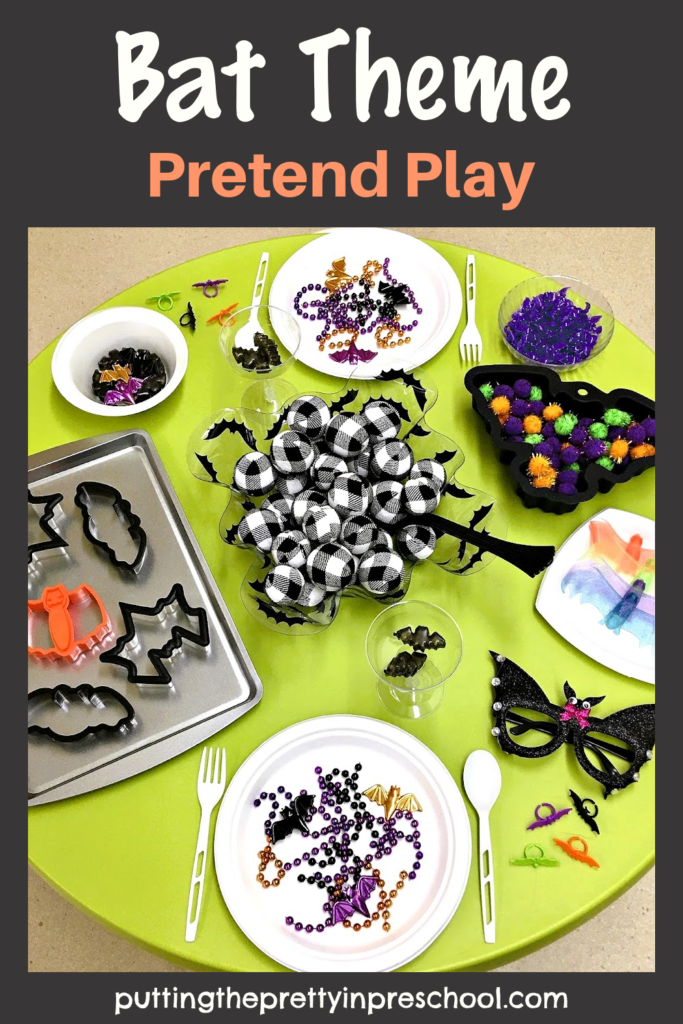
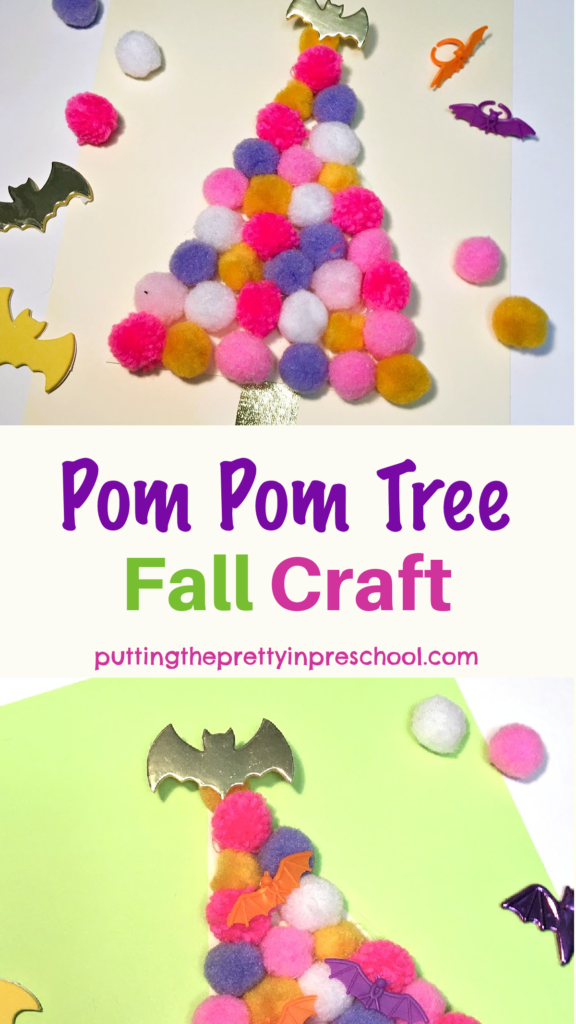
Fall is such a pretty time of year, and for many people, it is their favorite season. Aside from the leaves changing into gorgeous, radiant colors, the home décor is also stunning, and is super fun! The colors and décor of this fall season inspired the bat-topped fall pom pom tree craft.
_______
Fall Pom Pom Tree Craft Supplies
_______
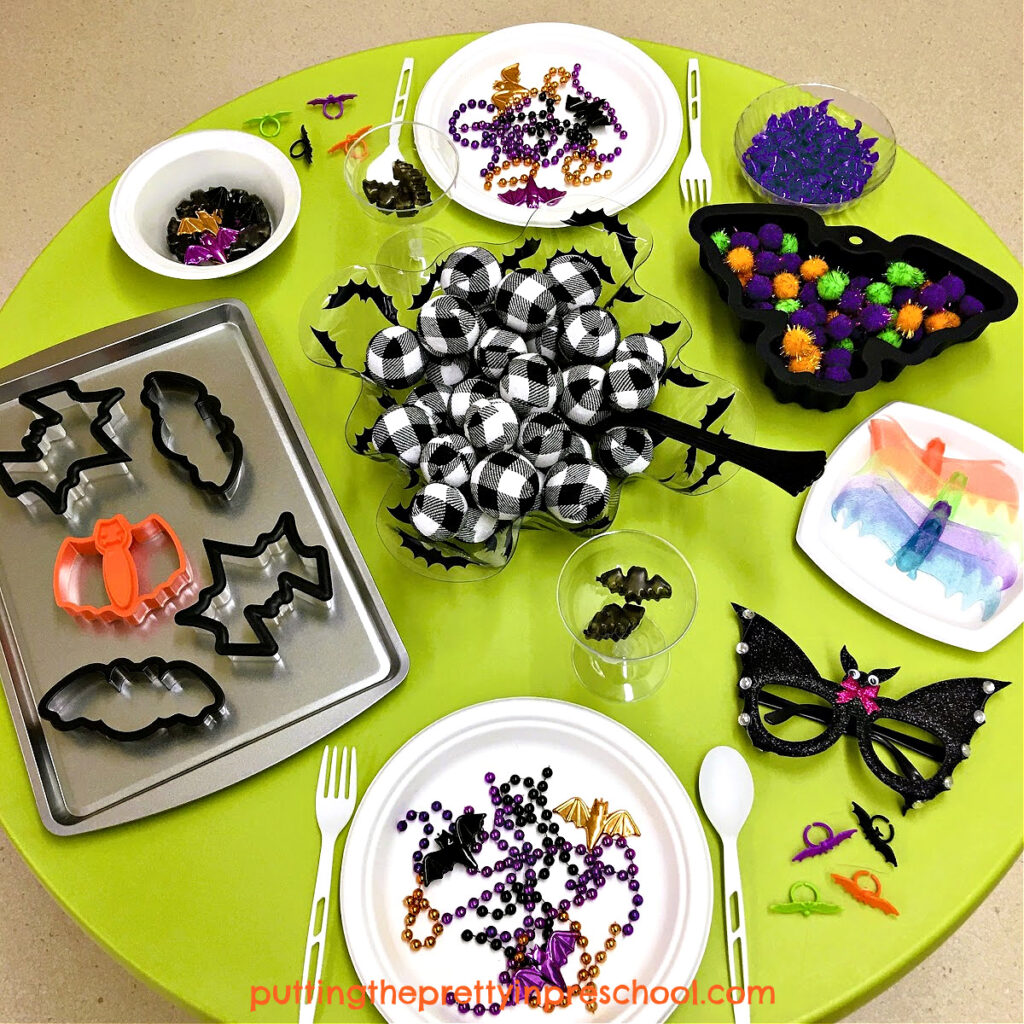
Gather just the following few supplies for this soft and simple autumn tree craft:
- pom poms in pink, melon, white, and purple hues
- 9-inch x 12-inch cardstock or construction paper
- 8 1/2 x 11-inch cream colored cardstock
- white glue
- glue gun
- bat sticker
- bat ring party favors
- scissors and pencil
_______
Follow me on Pinterest for more early learning ideas.
_______
The Fall Pom Pom Tree Craft
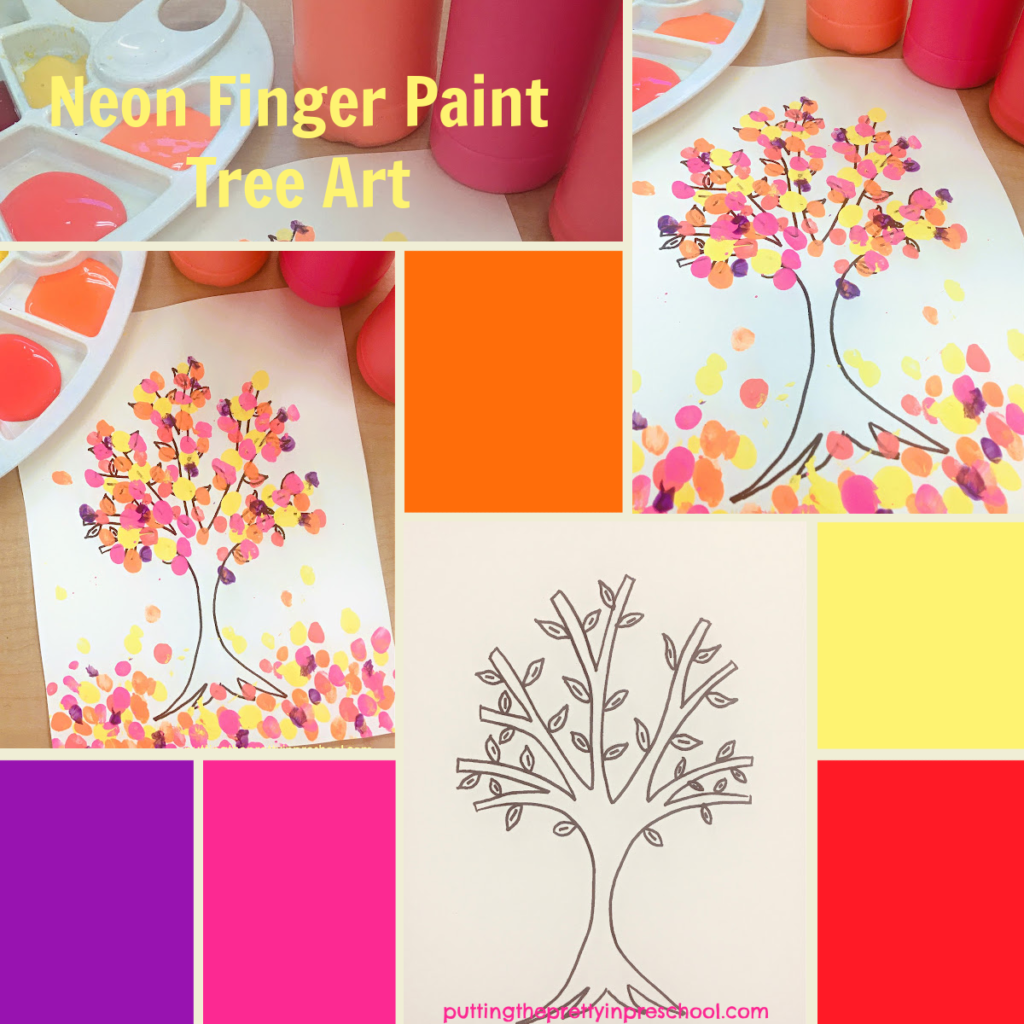
The design of this tree is a triangular Christmas tree shape. So it’s a little like creating a Christmas craft early. The tree base is cut from cream-colored cardstock.
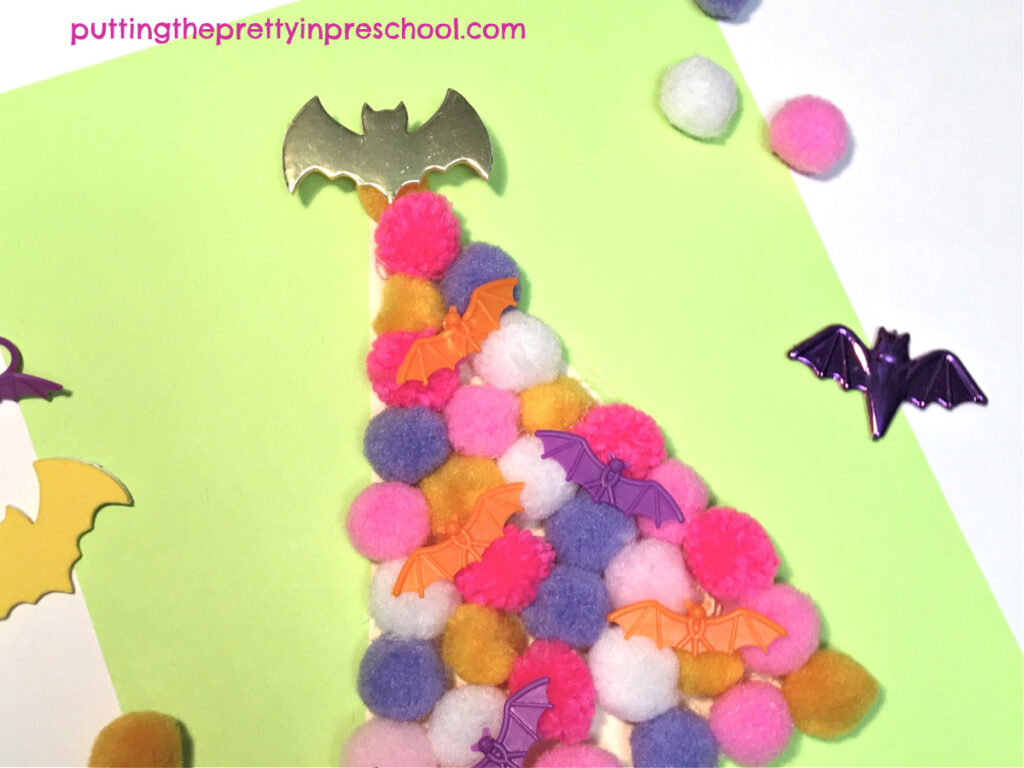
Young children enjoy using special craft supplies such as pom poms and will love gluing them to the paper triangle base. The pom poms can be squished together or spread apart in a random design. White glue works well for this task. 34 pom poms are affixed to this crafted tree.
_______
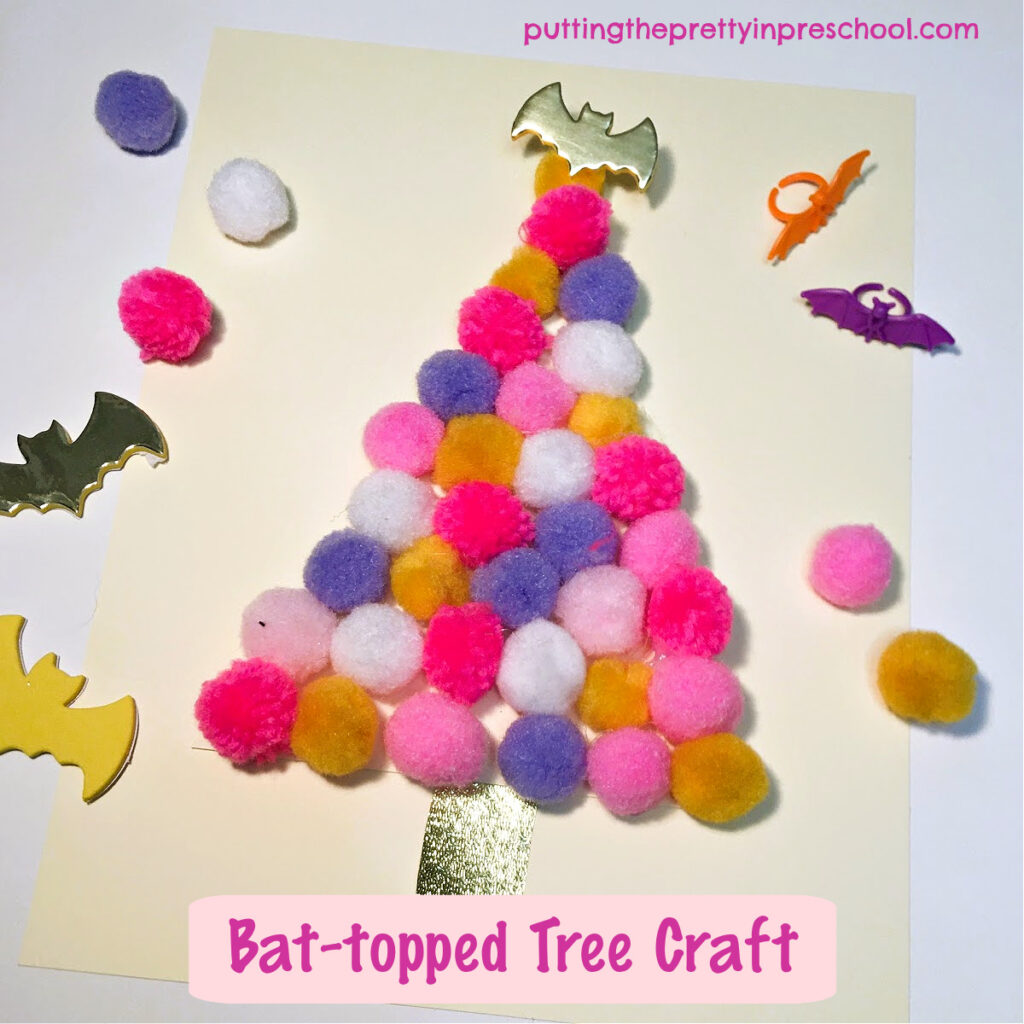
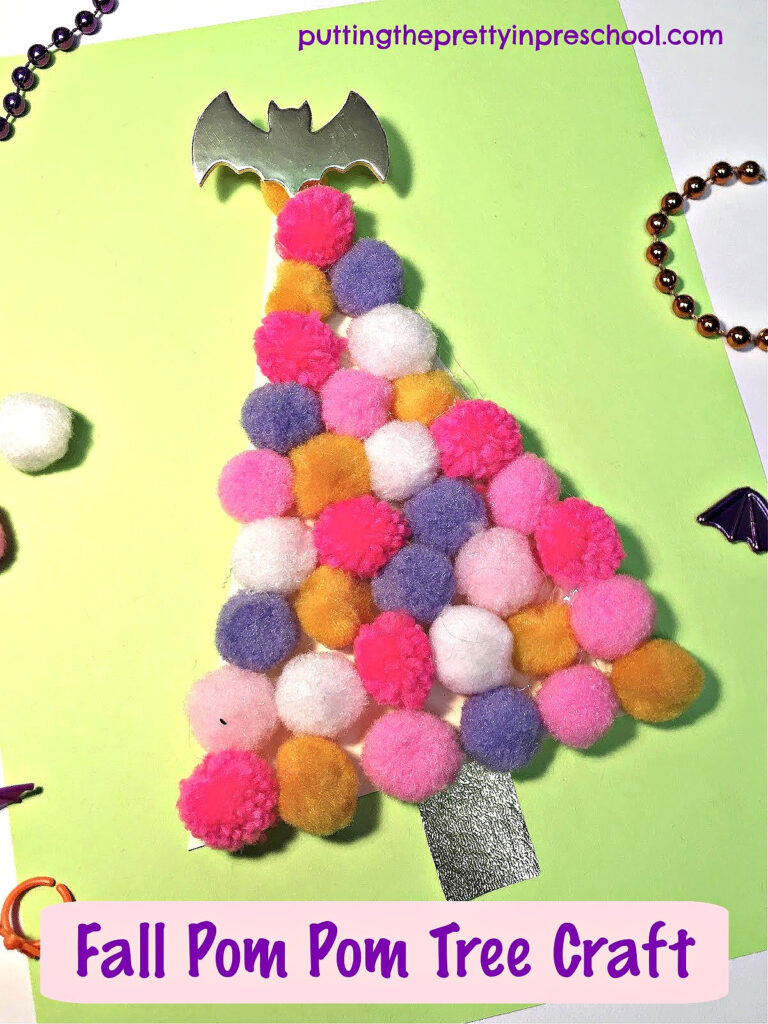
A metallic gold sticker bat is the unexpected but delightful tree topper, tying into the fall theme wonderfully. A bat cut from paper adhered with glue would work fine too.
An optional addition is to glue bat ring party favors between the pom poms for even more flare.
_______
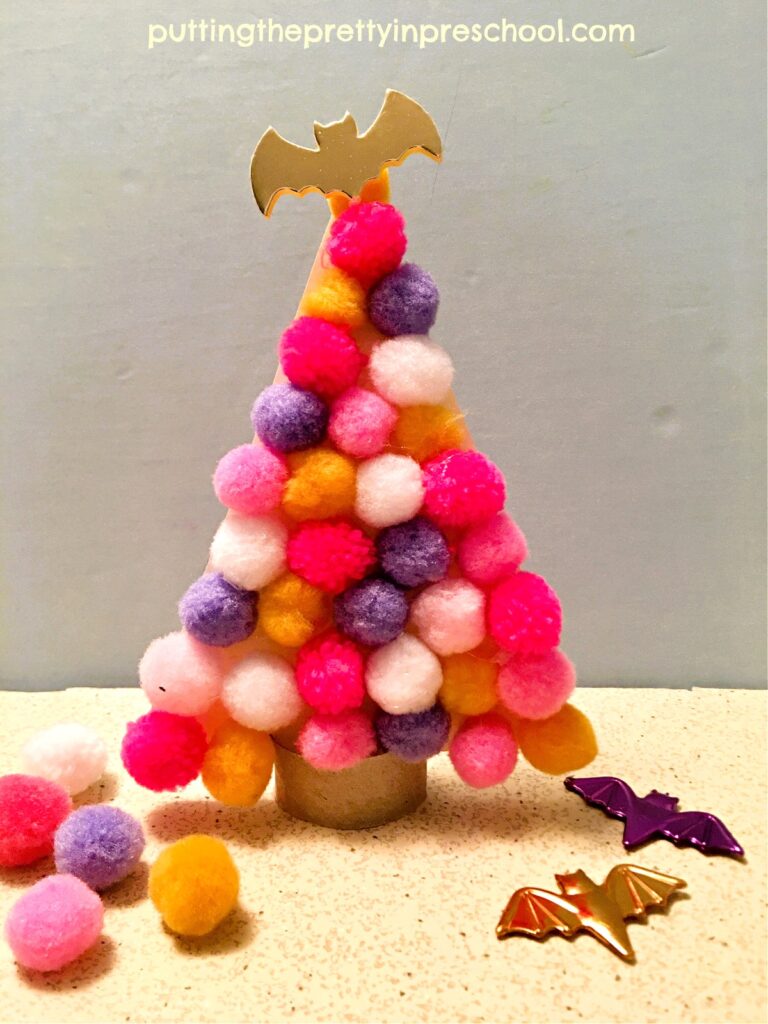
Finally, a tree trunk cut from gold foil tissue paper and the pom pom-decorated tree display nicely when glued on a 9-inch x 12-inch piece of colored construction paper.

_______
An alternate way to showcase the crafted tree is to cut a thin cylinder from a toilet paper roll and cut two slits opposite from each other. Gently slide the bottom of the fall pom pom tree in the slits. The tree stands up sturdily on a table or shelf.
_______
Pom poms in pink, purple, ochre, and white provide the color scheme for this seasonal tree craft. But the craft would look spectacular in any color scheme.
_______
_______
Related:
_______
_______
More Fall Activities
Fall Scissor Skills Activities
_______
[Read more…] about Fall Pom Pom Tree Craft